How to Ferment Vegetables at Home (A beginner’s Guide to Better Gut Health)
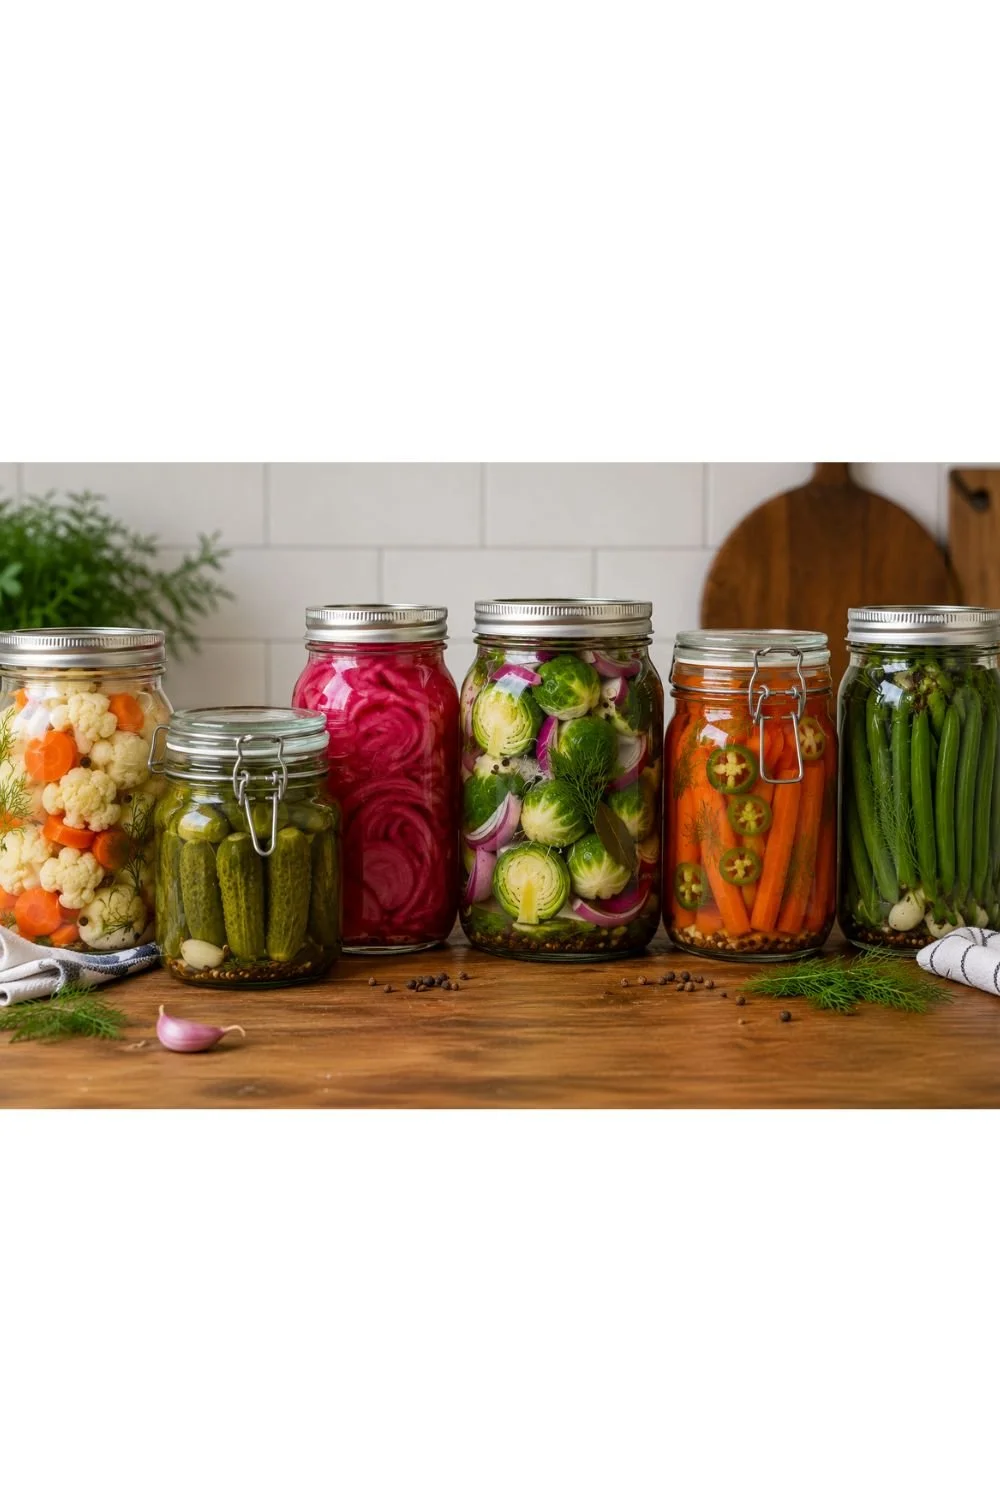
Fermented foods have become incredibly popular in recent years, and for good reason. They're delicious, surprisingly easy to make, and may help support a healthy gut microbiome. They're also one of the easiest ways to naturally ferment foods for your everyday meals.
If you've ever looked at a jar of homemade fermented vegetables and thought, "That seems complicated," I've got good news. Fermenting vegetables is much simpler than most people realize.
With little more than vegetables, salt, water, and a bit of patience, you can create crunchy, tangy ferments right in your own kitchen. In this guide, I'll walk you through how to ferment vegetables at home, explain why your microbiome may appreciate these foods, and share six beginner-friendly recipes.
Why Your Microbiome Loves Fermented Foods
One of the things I love most about fermented vegetables is that they remind us that healthy food doesn't have to be complicated.
We often think about nutrition in terms of vitamins, minerals, protein, or fiber. While those things are important, there is another fascinating layer to health: the trillions of microbes living in and on our bodies.
Scientists continue to uncover connections between the gut microbiome and many aspects of health, including digestion, inflammation, immune function, metabolism, and brain health. While no single food can transform your health overnight, regularly including fermented foods alongside a fiber-rich diet may help support a healthier and more diverse gut ecosystem.
Fermented vegetables are one simple and delicious way to support that inner community.
Why I Recommend Fermented Foods So Often
Fermented foods fit beautifully into the simple approach to health that I try to live and share here at Green Food Crush.
We live in a time when wellness can feel incredibly complicated. There is always a new supplement, a new protocol, or a new expert telling us we need to do more.
Fermented vegetables remind me that some of the foods that nourish us the most are often the simplest.
People have been fermenting vegetables for generations using little more than salt, water, and fresh produce. Long before probiotics came in capsules, fermented foods were finding their way onto dinner tables around the world.
Of course, I don't believe fermented foods are a magic bullet. The foundation of good health will always be a diet built around whole plant foods, regular movement, restorative sleep, healthy relationships, and time spent with God.
But I do think fermented foods deserve a place at the table.
They're flavorful, affordable, easy to make, and a wonderful way to add variety to a healthy lifestyle. That's a combination I can get excited about.
What Exactly Happens During Fermentation?
Despite the fancy name, fermentation is simply a natural process in which beneficial bacteria begin feeding on sugars found in vegetables.
As these bacteria multiply, they produce lactic acid. This acid helps preserve the vegetables, creates their tangy flavor, and makes it difficult for harmful microbes to grow.
Over time, the flavor becomes more complex and the vegetables develop that characteristic fermented taste that so many people enjoy.
Humans have been fermenting foods for thousands of years, long before refrigerators or modern food preservation methods existed.
Fermented vs. Pickled: What's the Difference?
Many people use the terms interchangeably, but fermented and pickled vegetables are not exactly the same.
Most quick pickles are preserved using vinegar. The vinegar provides the acidic flavor and helps prevent spoilage.
Fermented vegetables develop their own acidity naturally through the fermentation process. Beneficial bacteria consume sugars in the vegetables and produce lactic acid, creating that familiar tangy flavor.
Both can be delicious, but fermentation is what gives fermented foods their unique character, and beneficial bacteria that pickled foods do not have.
What You Need to Get Started
The good news is that you don't need much.
Wide-mouth mason jars
Filtered water
Sea salt
Fresh vegetables
Optional: fermentation weights and E-Z Fermenter fermentation lid.
That's really it.
The Simple Brine Formula I Use
You'll find plenty of fermentation guides online that recommend weighing every vegetable and calculating precise salt percentages. Those methods certainly work, and if you enjoy that level of precision, go for it.
Personally, I like to keep things simple.
For years, I've used a basic brine made with 2 cups of filtered water and 1 tablespoon of sea salt, and it has served me well for everything from cauliflower and carrots to Brussels sprouts and onions.
Fermentation has been around for thousands of years. While there is certainly science behind it, it doesn't have to feel like a chemistry project.
Basic Brine
2 cups filtered water
1 TBSP sea salt
Stir until the salt completely dissolves.
This makes enough brine for approximately one quart jar. Don’t worry if you have a little brine left over. It’s better to make a little extra than not enough.
How to Ferment Vegetables
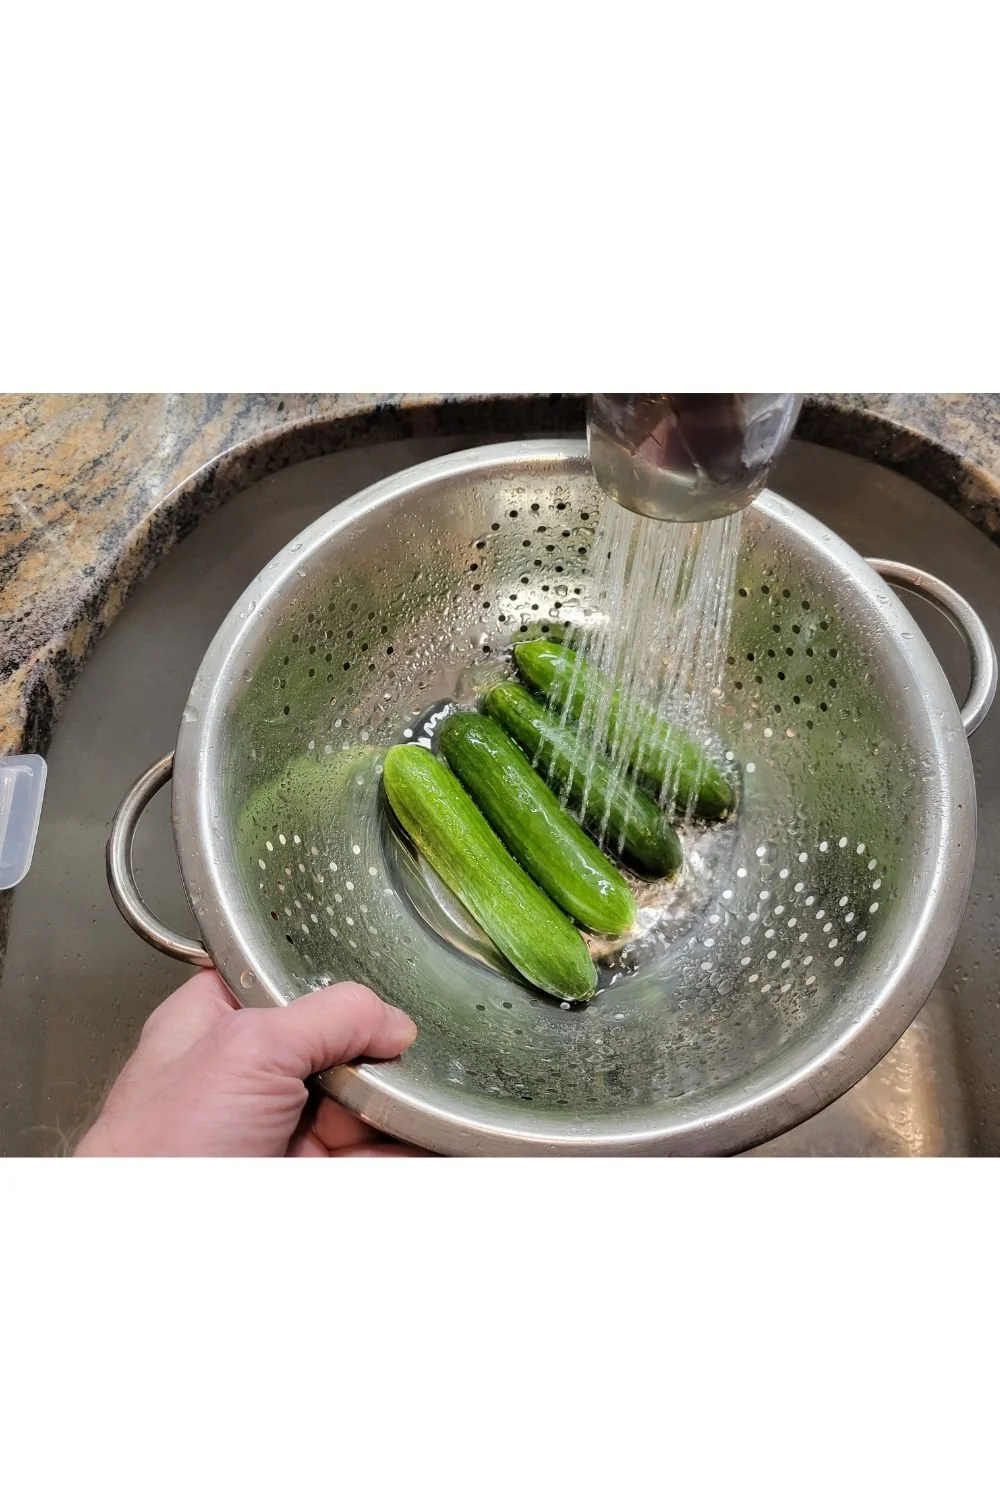
Step 1: Prepare Your Vegetables
Wash and cut vegetables into sticks, slices, florets, or bite-sized pieces.
Step 2: Fill Your Jar
Pack vegetables into a clean quart-sized mason jar.
Add any herbs, garlic, or spices.
Step 3: Add Brine
Pour the brine over the vegetables until they are completely covered.
Leave about one inch of space at the top.
Step 4: Keep Everything Submerged
The vegetables should stay below the surface of the brine throughout fermentation. I usually use a cabbage leaf tucked on top of the veggies to help keep them submerged in the brine. Then top that with a glass fermentation weight and place the fermentation lid on top.
Step 5: Let Nature Do the Work
Place the jar out of direct sunlight at room temperature. Place jars on a plate or in a bowl to catch any excess liquid that bubbles over during fermentation. Don’t be surprised if you hear some noises coming from the jars too. Fermentation is an active process!
Step 6: Taste and Refrigerate
You can begin tasting around day 4 or 5, although each vegetable is different, and the timing depends on how crunchy you like your veggies or how sour you like them.
Personally, I usually enjoy mine around 7-14 days, but every kitchen is different. Start tasting around day 4 or 5 and refrigerate once they’re as tangy as you like.
Once the flavor reaches a level you enjoy, replace the fermenting lid with a regular lid and refrigerate. Ferments can last 4-12 months in the refrigerator, although mine seldom last that long!
Six Easy Fermented Vegetable Recipes
Fermented Garlic Dill Pickles
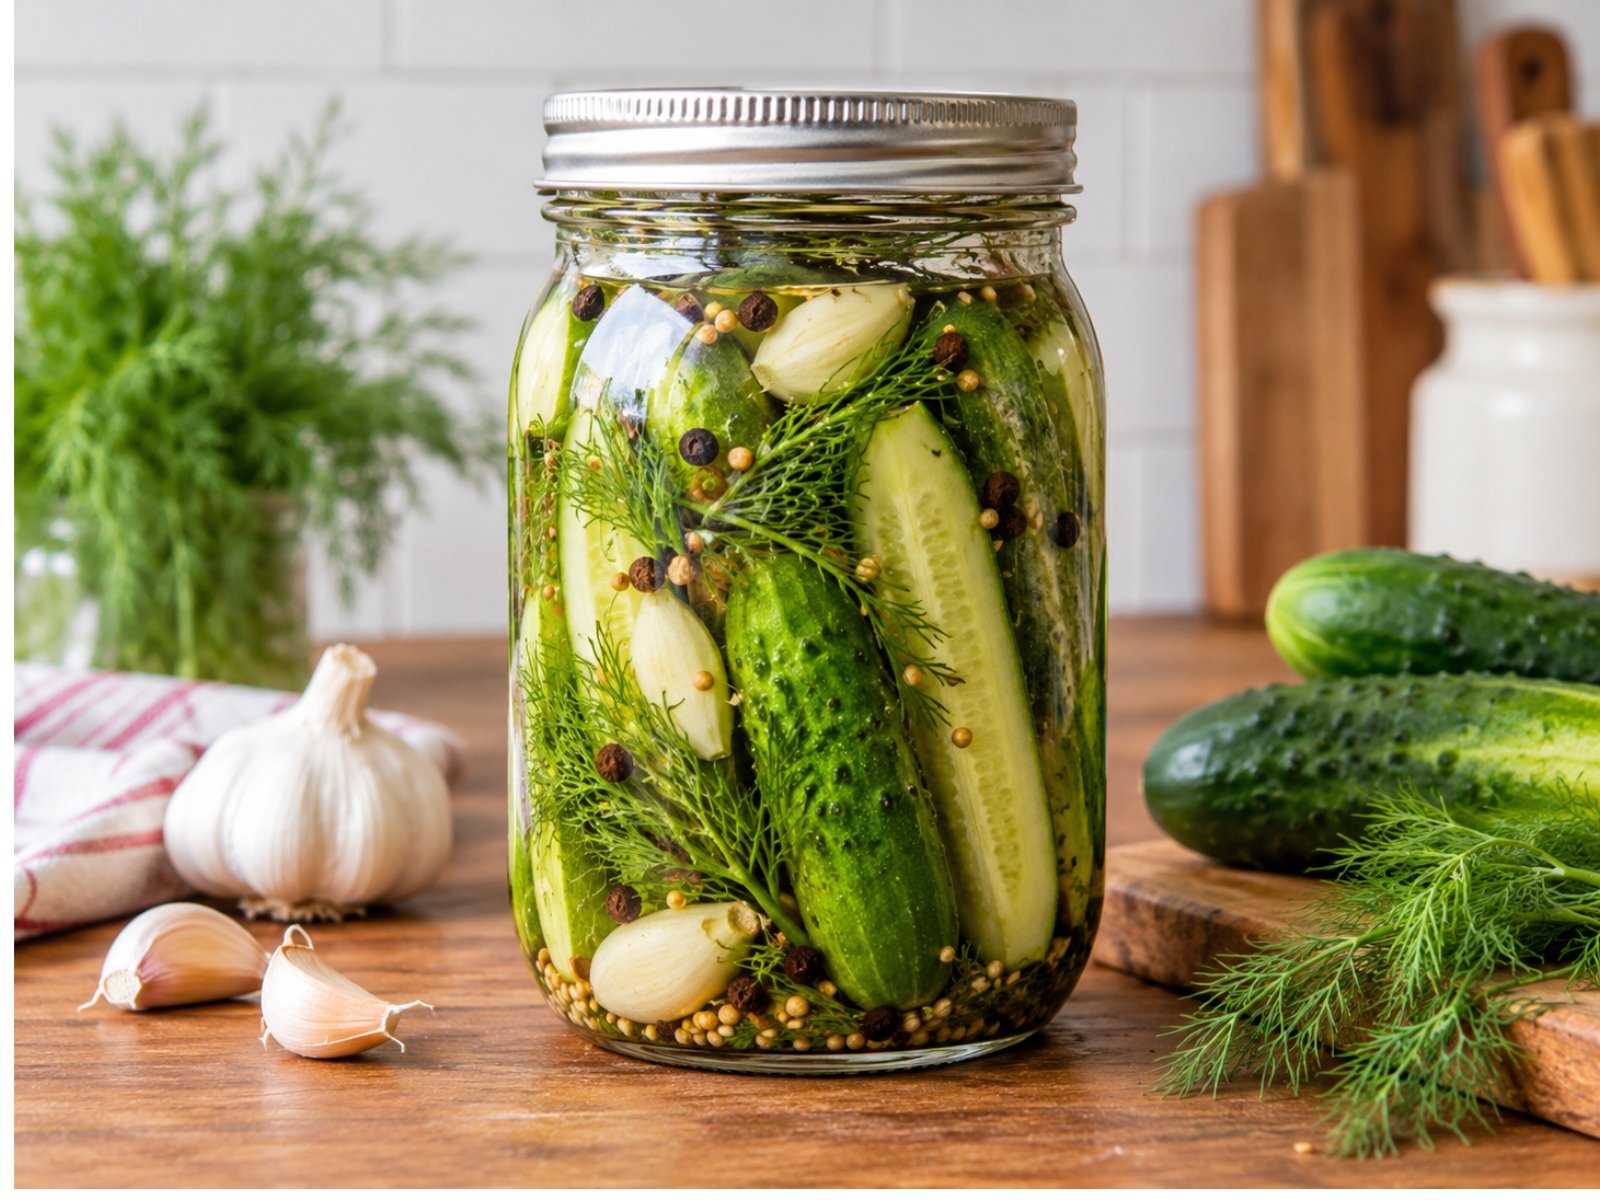
Ingredients (Makes 1 quart)
4–5 pickling cucumbers, cut into spears or left whole if they are small enough
2 garlic cloves
2 sprigs fresh dill
1 teaspoon black peppercorns
Brine (2 cups of purified water + 1 TBSP sea salt; dissolved well)
1-2 bay leaves
Ferment for 5–7 days.
Fermented Brussels Sprouts and Red Onion
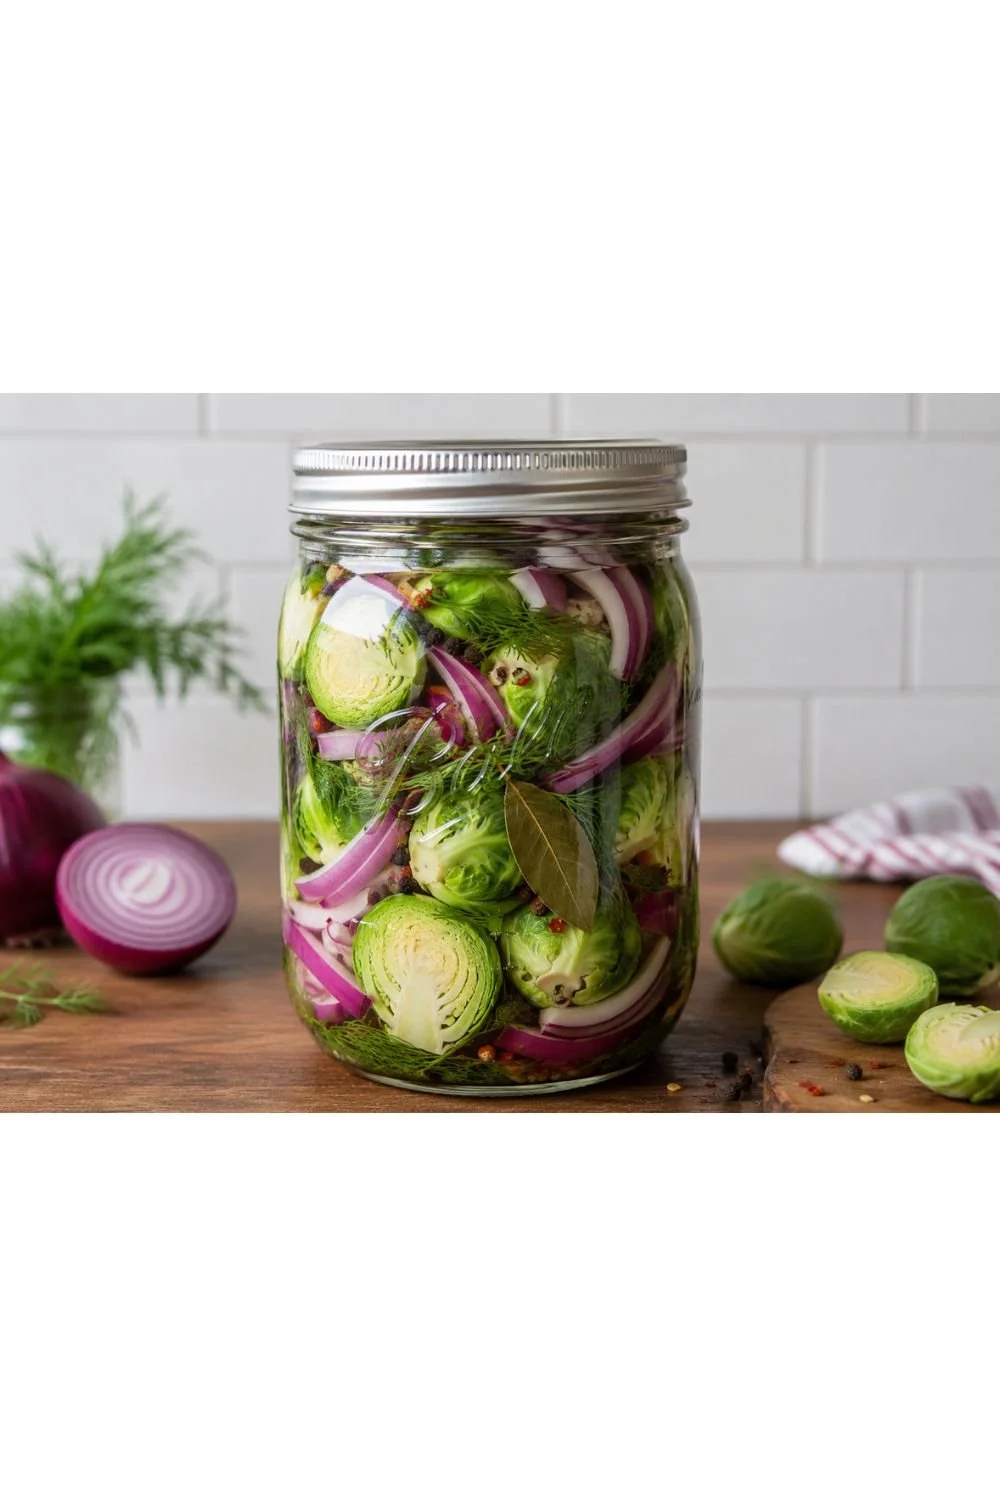
One of my personal favorites. The onions soften slightly, creating a beautiful color throughout the jar.
Ingredients (Makes 1 quart)
2 cups Brussels sprouts, halved
1 small red onion, sliced
2 sprigs fresh dill
1 teaspoon black peppercorns
Small pinch red pepper flakes
Brine (2 cups purified water + 1 TBSP sea salt; dissolve well)
1-2 bay leaves
Ferment for approximately 10-14 days.
Fermented Cauliflower and Carrots
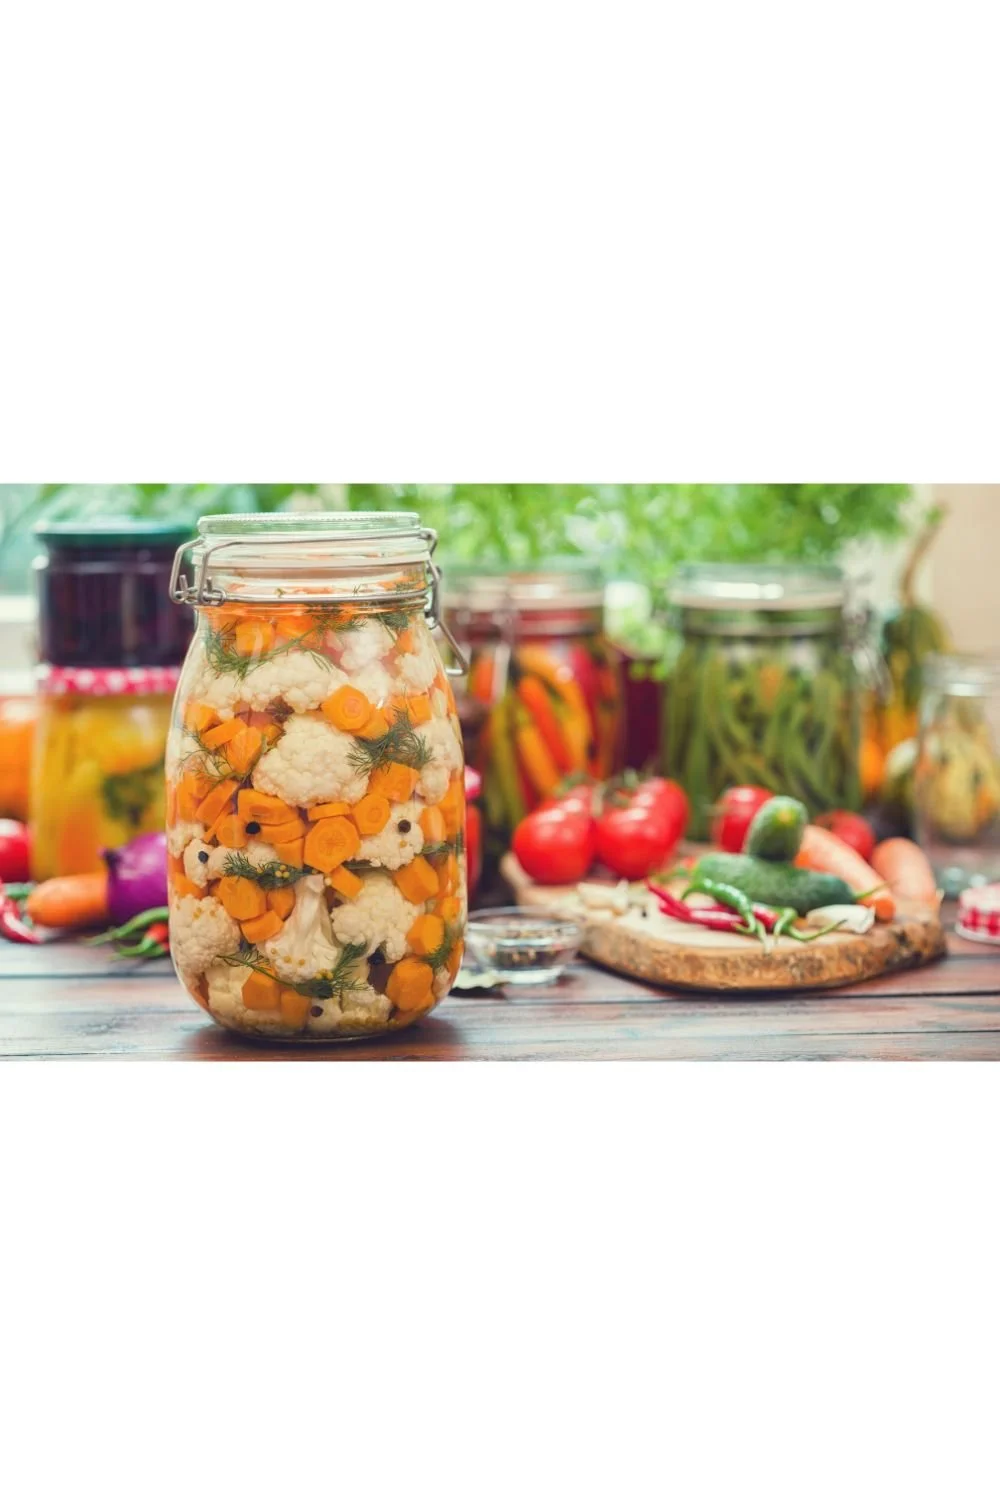
Crunchy, colorful, and perfect for beginners.
Ingredients (makes 2 quarts)
2 cups cauliflower florets
2 carrots, cut into sticks
2 garlic cloves
2 sprigs fresh dill
1 teaspoon black peppercorns
Brine (2 cups purified water + 1 TBSP sea salt; dissolve well)
1-2 bay leaves
Ferment for 7-14 days.
Spicy Carrots and Jalapeños
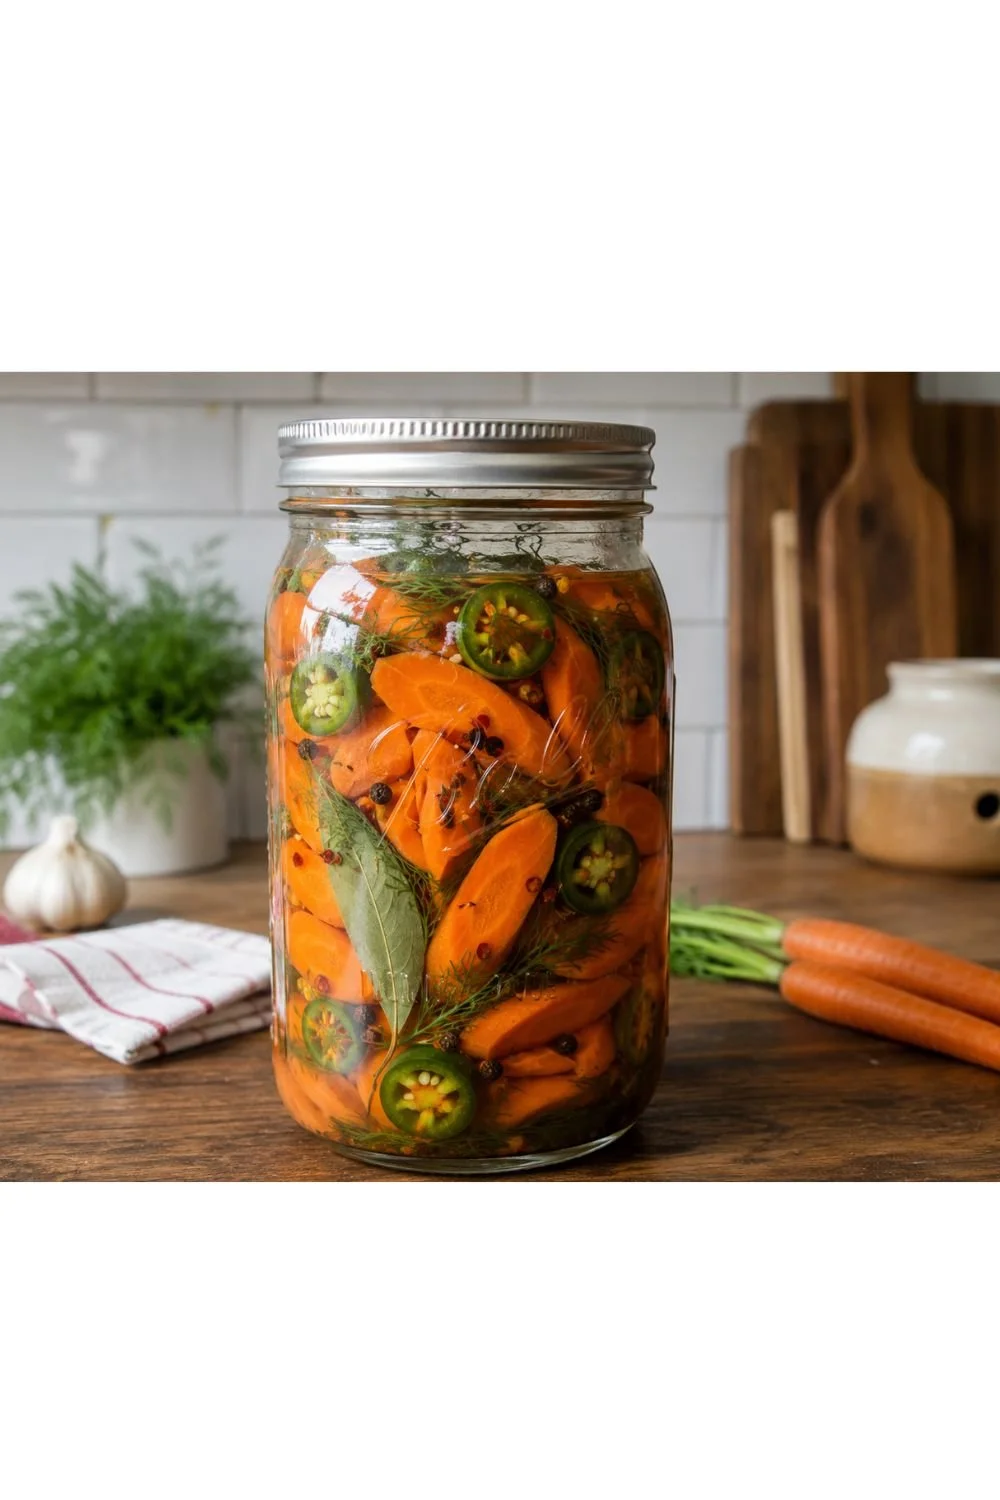
For those who enjoy a little heat.
Ingredients (Makes 1 quart)
4 carrots, cut diagonally (I just think they look cute like that!) or into sticks if you prefer
1–2 jalapeños, sliced
2 garlic cloves
2 sprigs fresh dill
1 teaspoon black peppercorns
Brine (2 cups purified water + 1 TBSP sea salt; dissolve well)
Ferment for 7-14 days.
Fermented Red Onions
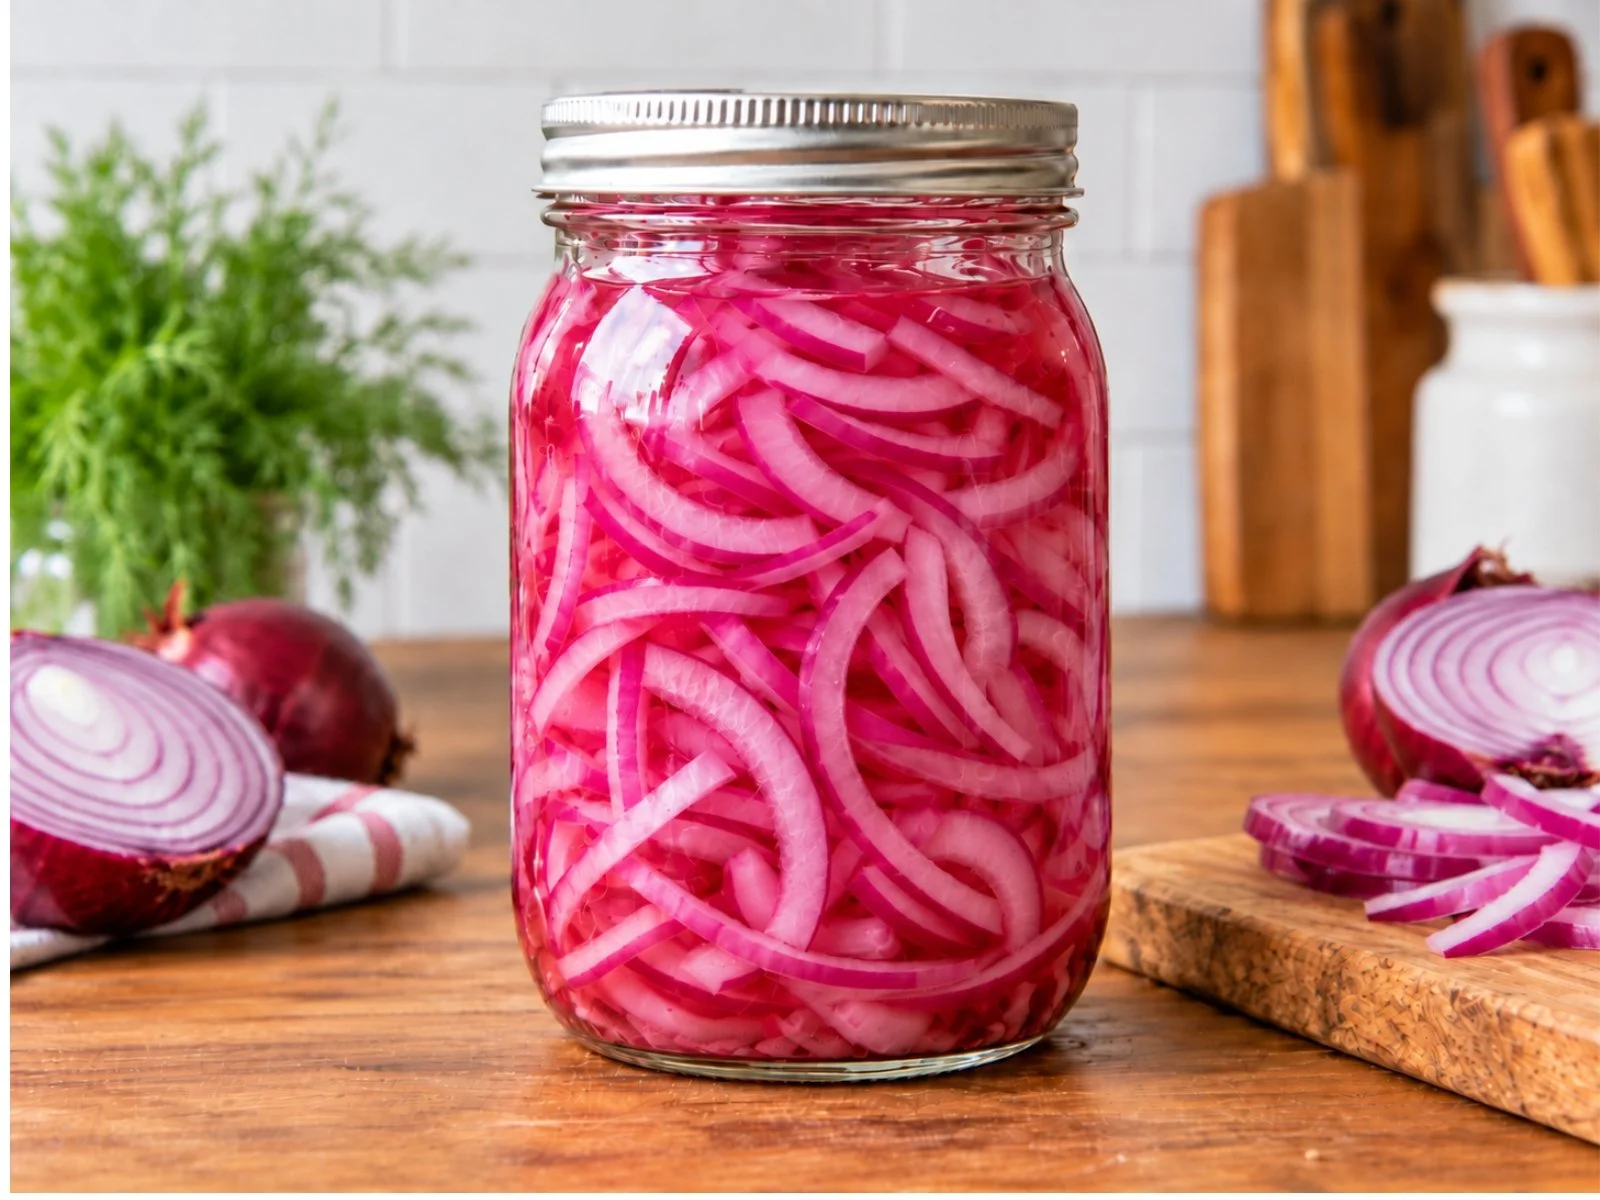
Perfect on salads, grain bowls, sandwiches, tacos, and avocado toast.
Ingredients (Makes 1 quart)
2 medium red onions, thinly sliced
Brine (2 cups purified water + 1 TBSP sea salt; dissolve well.)
Optional add ins…
2 garlic cloves
1 teaspoon black peppercorns
jalapeño slices
Ferment for 5-7 days.
Dilly Green Beans
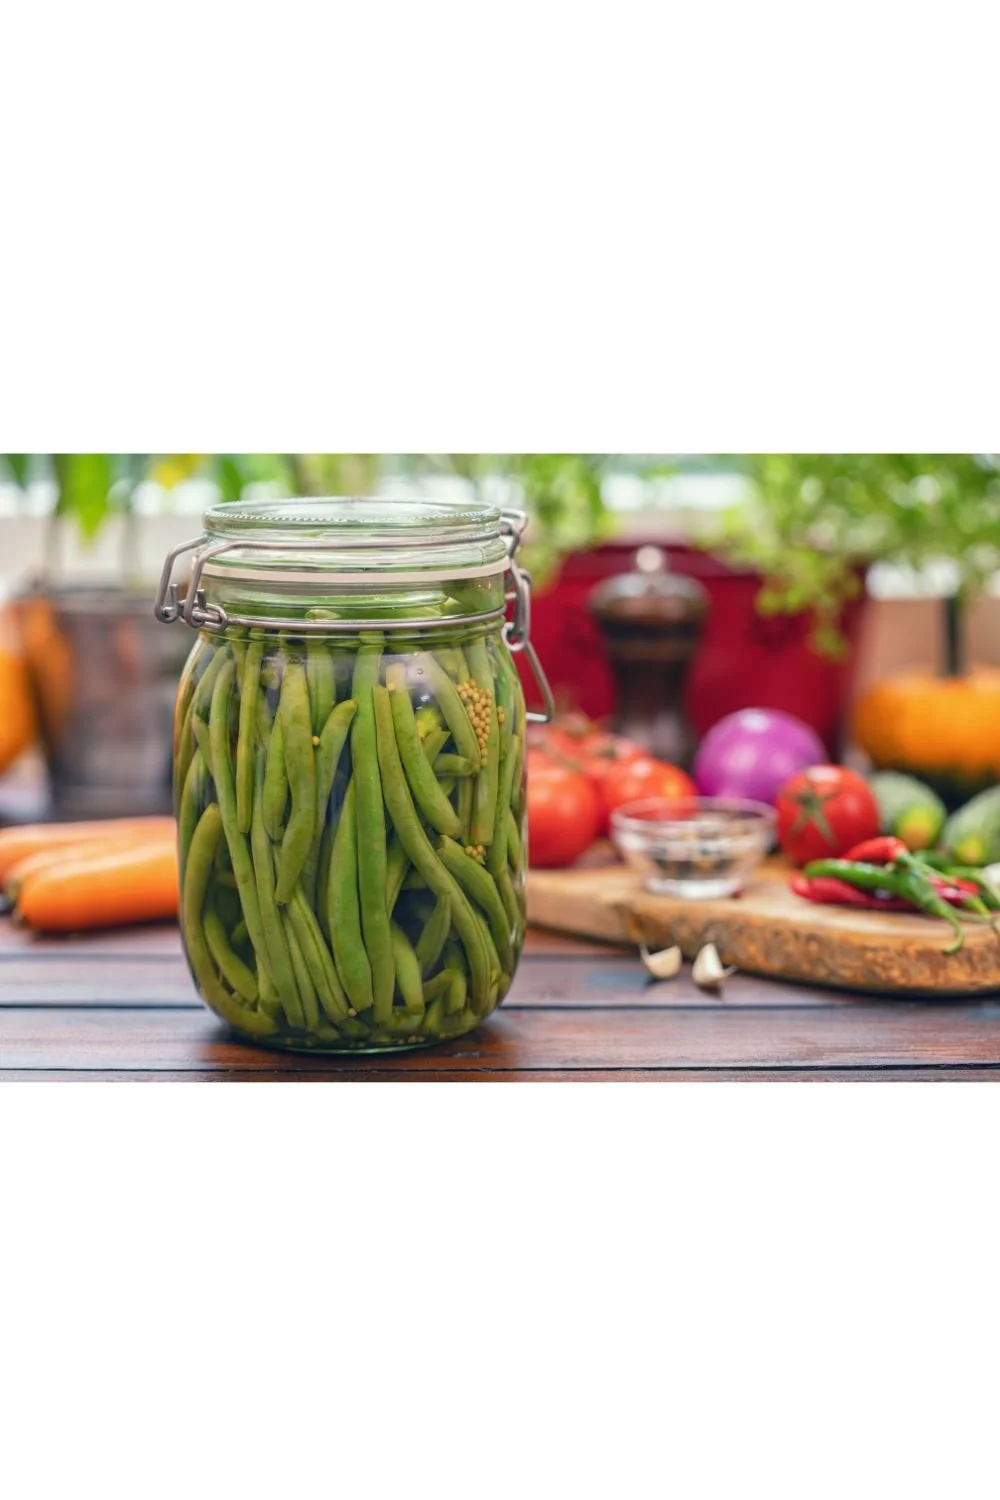
Crunchy, tangy, and one of my favorite summer ferments. These are delicious straight from the jar, chopped into salads, or served alongside sandwiches and grain bowls.
Ingredients (Makes 1 quart)
• 1 pound fresh green beans, trimmed to fit your jar
• 2–3 sprigs fresh dill
• 1 bay leaf
• ½ teaspoon whole black peppercorns
• ¼ teaspoon crushed red pepper flakes (or more if you like extra heat)
• 2 garlic cloves (optional)
• Brine (2 cups purified water + 1 TBSP sea salt, dissolved well)
Directions
Pack the green beans vertically into a clean quart jar. Tuck the dill, bay leaf, peppercorns, crushed red pepper, and garlic (if using) throughout the jar. Pour brine over everything, making sure the beans remain completely submerged.
Ferment at room temperature for 10-14 days, depending on how tangy you like them. Refrigerate once they reach your preferred flavor.
Don’t Overthink It
I hope this guide gives you the confidence to try your first ferment. Don't worry about making it perfect. Fermentation has been nourishing people for thousands of years with nothing more than fresh vegetables, salt, water, and a little patience. Before long, you might find yourself opening your refrigerator and reaching for a jar of homemade fermented vegetables with nearly every meal. I know I do!
But be warned, fermenting can become addicting! You will find yourself looking at each vegetable in a new way, wondering what it might taste like fermented!
A Few Questions New Fermenters Often Ask
Is it normal to see bubbles?
Yes. Bubbles are usually a sign that fermentation is happening.
Is cloudy brine normal?
Absolutely. Cloudy brine is very common during fermentation.
What if I see mold?
If mold develops, discard the batch and start over. Keeping vegetables submerged helps prevent this.
How do I know when they're ready?
Taste them. When they've reached a tangy flavor you enjoy, they're ready.
Are fermented vegetables good for gut health?
Fermented vegetables contain beneficial bacteria and can be part of a healthy, microbiome-supportive diet.
How much should I eat?
If you're new to fermented foods, start with a tablespoon or two daily and gradually increase as tolerated.
How long do fermented vegetables last?
Stored in the refrigerator, most fermented vegetables will last several months.
Do I need special fermentation equipment?
No. A mason jar, vegetables, salt, and water are enough to get started.
What vegetables ferment best?
Cucumbers, carrots, onions, cauliflower, Brussels sprouts, cabbage, green beans, radishes, and peppers all ferment beautifully.
Final Thoughts
One of the things I appreciate most about fermenting vegetables is how simple the process really is.
A handful of vegetables. A little salt. Some water. A few days of patience.
That's all it takes to create something flavorful, satisfying, and deeply rooted in tradition.
If you're new to fermentation, start with whichever recipe sounds most appealing to you. Maybe it's the classic garlic dill pickles. Maybe it's the spicy carrots and jalapeños. Maybe it's the colorful Brussels sprouts and red onions.
There is no perfect place to begin.
The goal isn't to become an expert fermenter overnight. It's simply about adding another nourishing and enjoyable food to your table and discovering what you love.
Before long, you may find yourself keeping a jar or two in the refrigerator at all times—and wondering why you waited so long to start.
And if you're looking for even more ways to support your microbiome, be sure to check out my homemade kimchi recipe!