Garden to Jar: A Simple Fermented Salsa You’ll Want to Make All Summer
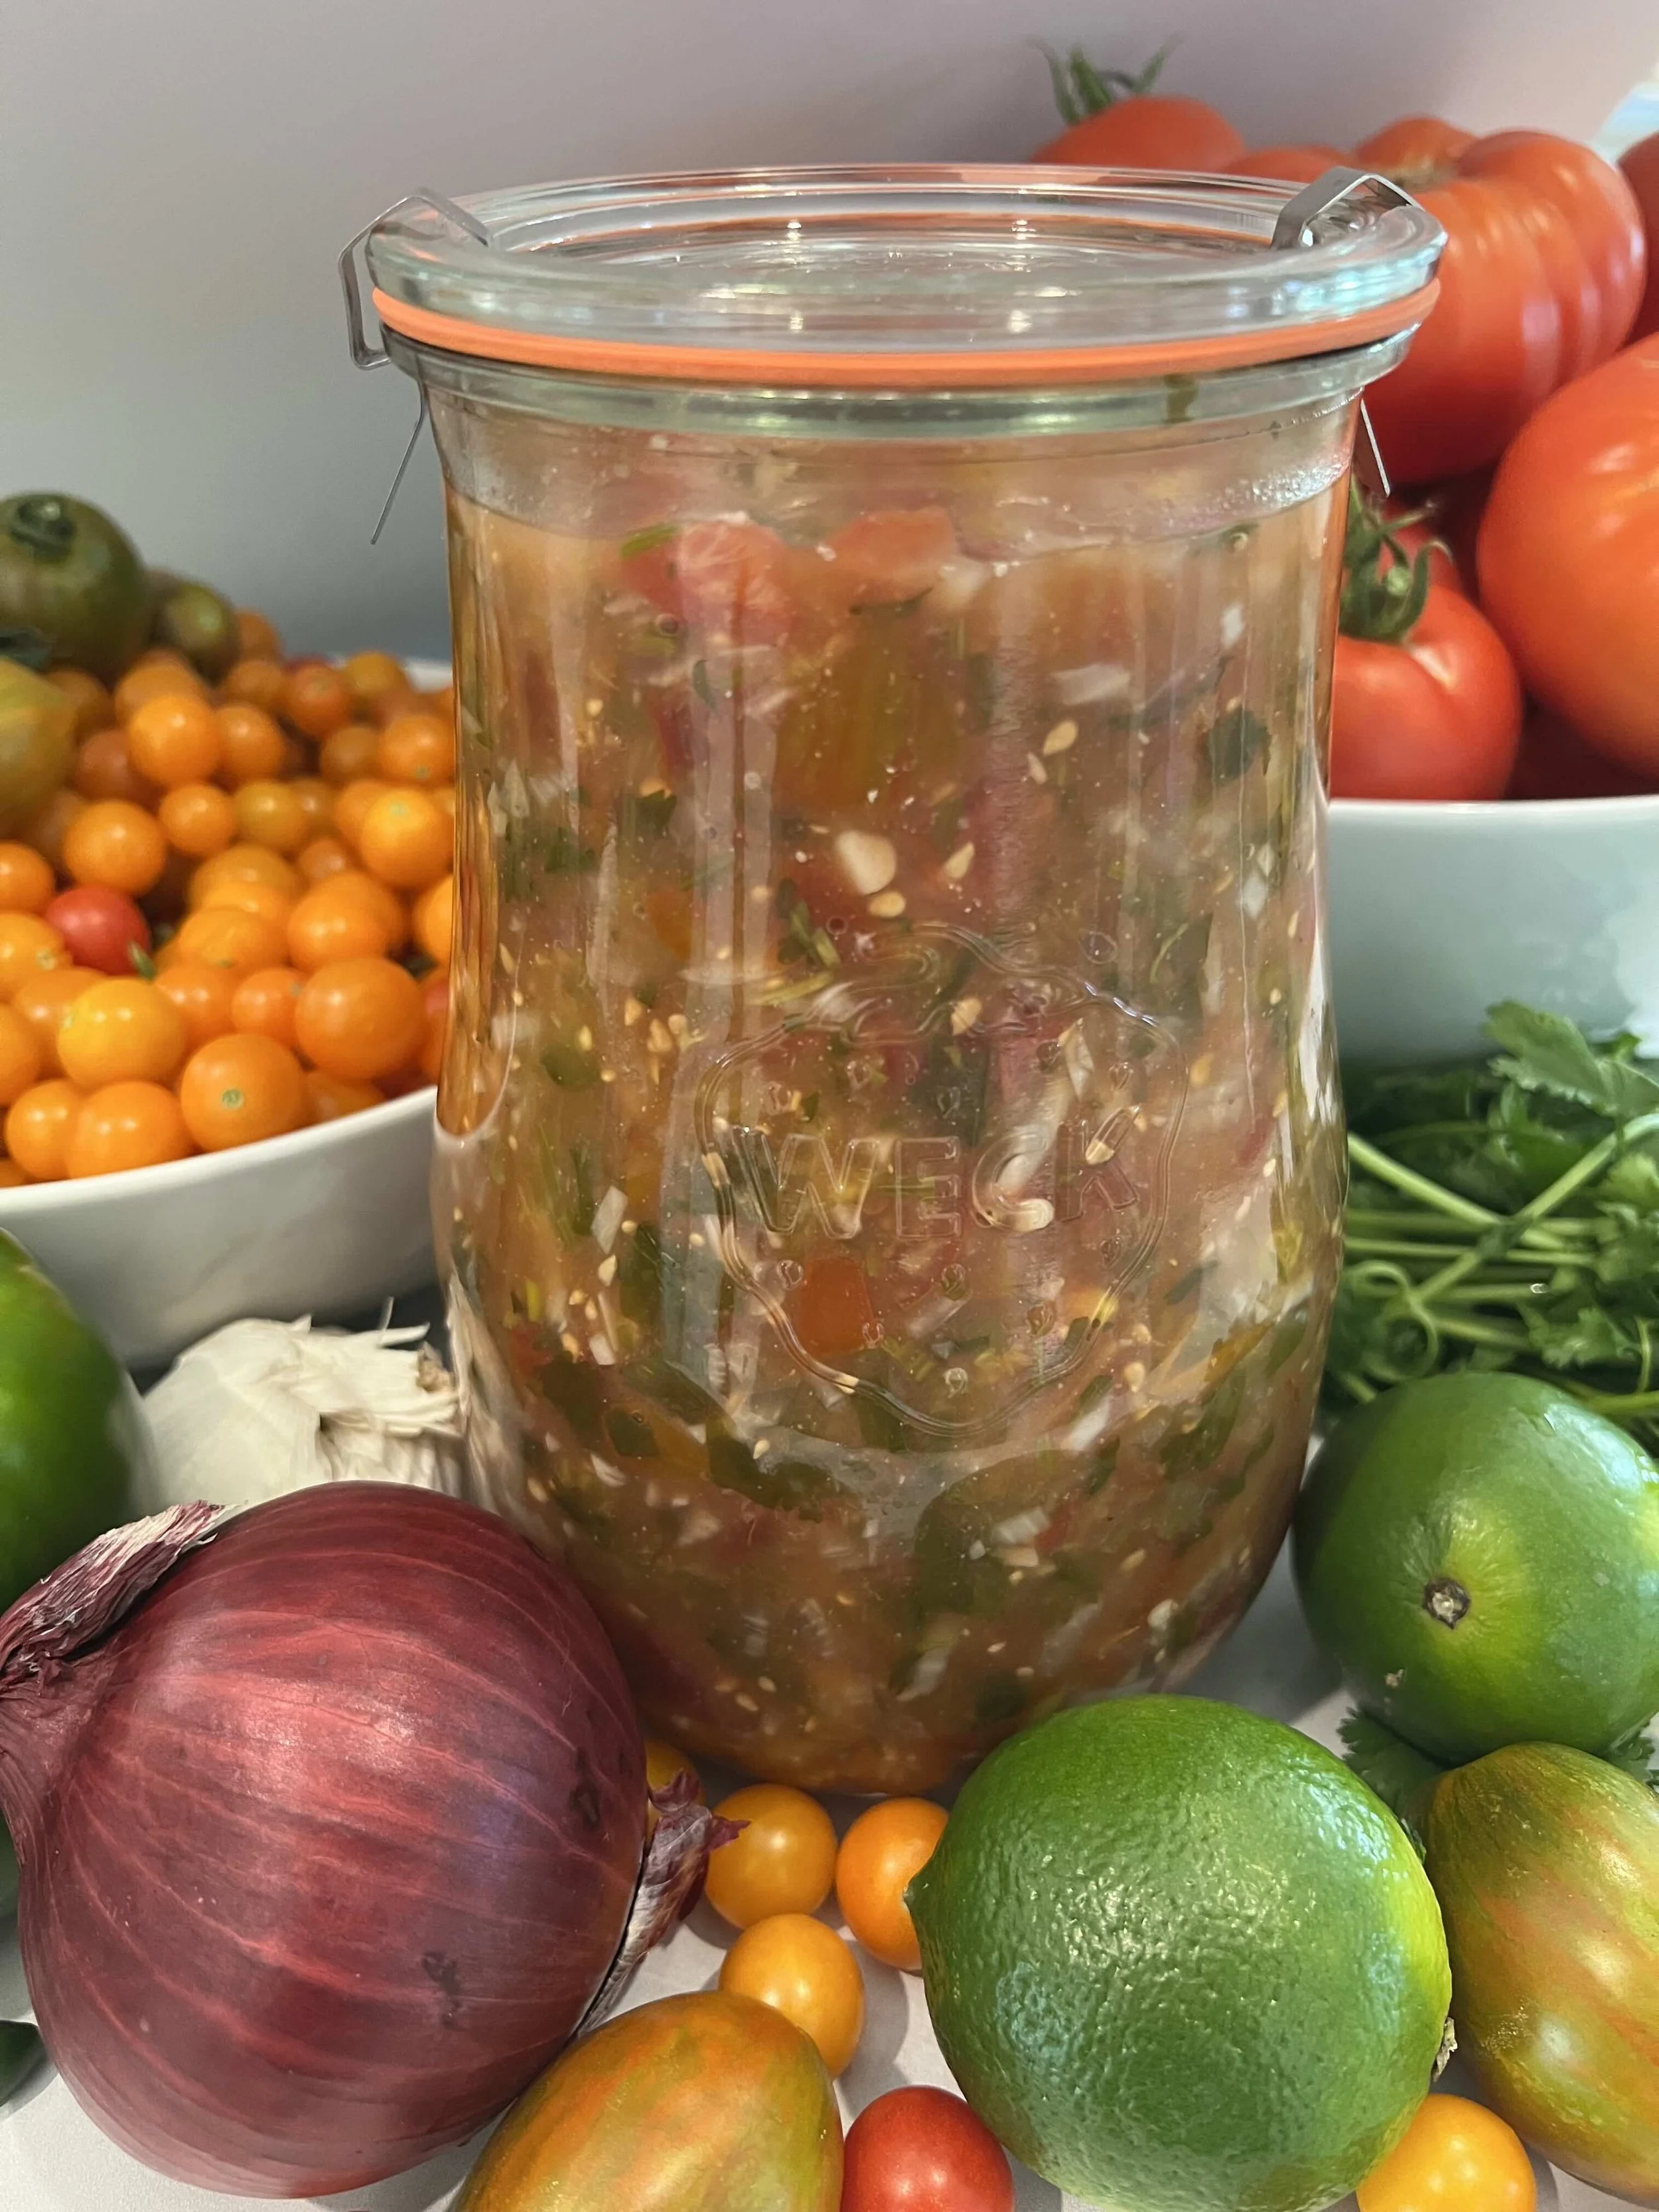
There is something deeply satisfying about turning a basket of garden tomatoes into something that becomes even more delicious with time.
Fresh salsa is wonderful. But fermented salsa? Fermenting it changes the flavor completely.
Over a few days, naturally occurring beneficial bacteria begin transforming the vegetables. The flavors become brighter, a little tangier, and surprisingly more complex. Even the onions mellow into something sweeter, while the tomatoes develop a richness that’s hard to describe until you’ve tasted it.
But if I’m being completely truthful, this recipe didn’t begin because I was trying to create the perfect fermented salsa.
It began because I had too many tomatoes.
My garden was producing faster than we could possibly eat them, and one big bowl of freshly picked tomatoes had been sitting on my counter waiting for me to figure out what to do with it. The day before, I threw away six beautiful tomatoes because we simply hadn’t eaten them quickly enough.
If you grow tomatoes, you probably know this moment.
For weeks you wait for that first perfect ripe tomato…and then suddenly it’s August, and they’re ripening faster than you know what to do with them.
I already loved fermenting vegetables, so I thought:
Why not salsa?
And that bowl of tomatoes that might otherwise have gone to waste became one of my favorite things I made from the garden all summer.
There’s no canning required and no vinegar needed. Just fresh vegetables, sea salt, a fermentation jar and lid, and a few days on the counter while the microbes do something rather remarkable.
This year my salsa is a colorful mixture of whatever happens to be growing in my garden: Brad’s Atomic Grape, Sungold cherry, Sweet 100, yellow grape and Celebrity tomatoes.
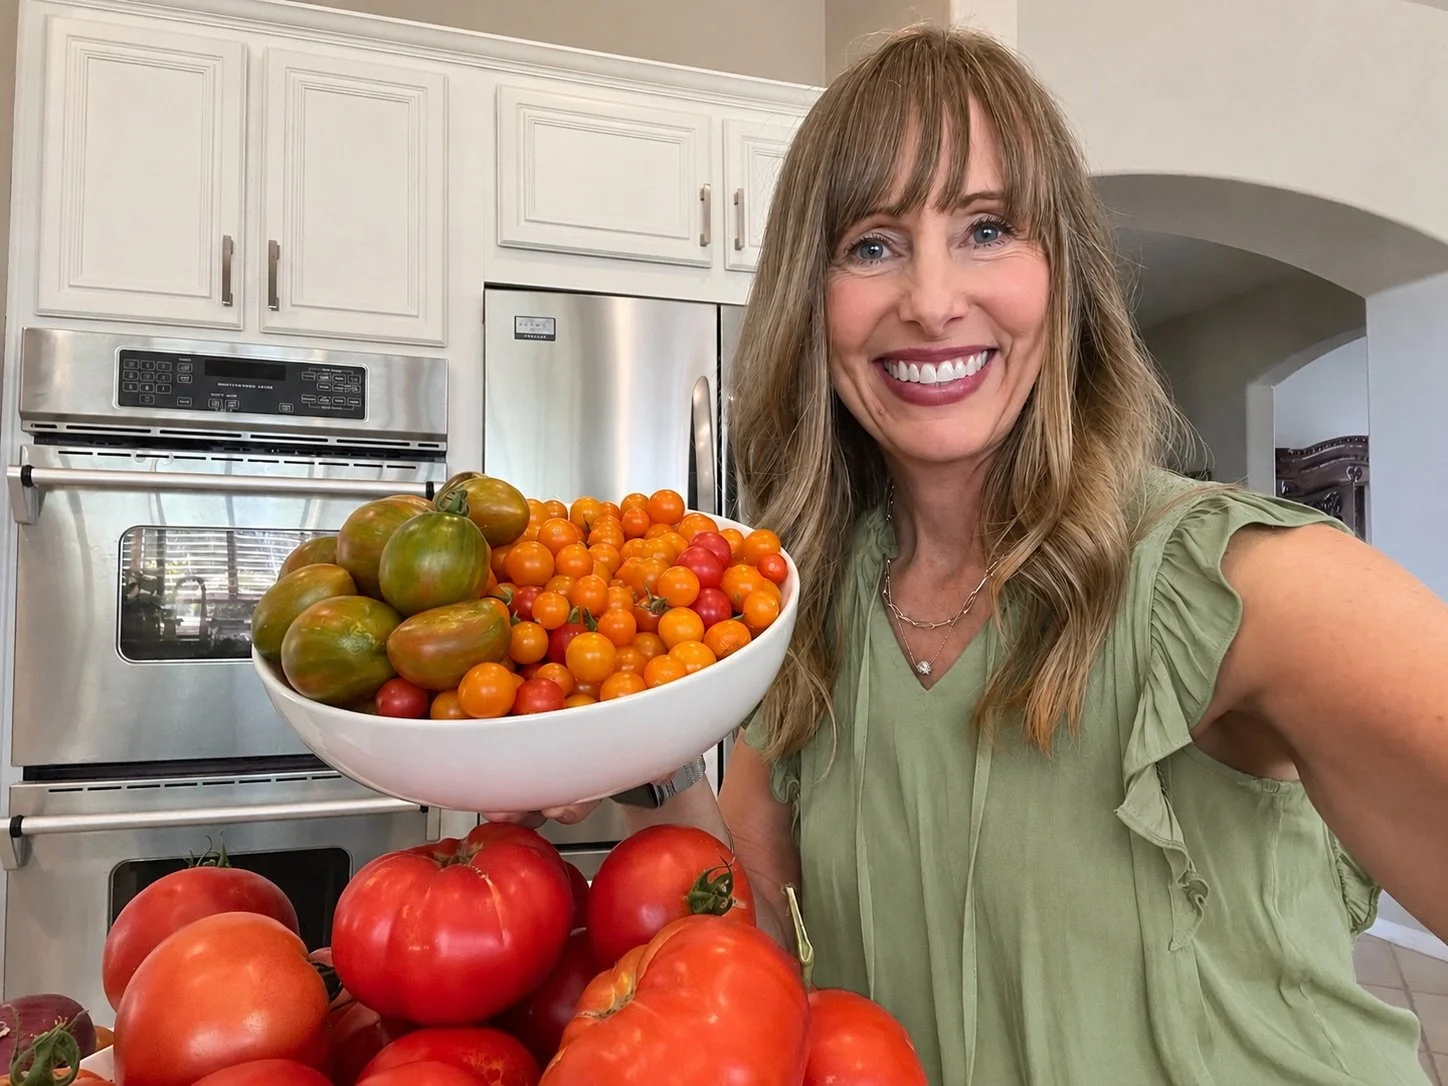
If your garden is overflowing with tomatoes—or you’ve found beautiful tomatoes at your local farmers market—this may become one of your favorite ways to capture a little bit of summer in a jar.
My garden has become about much more than just growing food, and I wrote more about that in The Garden That Grew Alongside My Health. My garden has become about so much more than growing food. I shared more of that story in The Garden That Grew Alongside My Health.
Why Ferment Salsa?
The more I’ve learned about fermentation, the more interesting it's become.
Fresh vegetables naturally carry communities of microorganisms. When we create the right environment—with salt, limited oxygen, and time—we encourage lactic-acid bacteria to flourish.
As they ferment the vegetables, they produce organic acids, including lactic acid. The salsa gradually becomes more acidic, its flavor changes, and that increasingly acidic environment helps preserve the food.
And unlike salsa that's been canned or heat-processed, fermented salsa isn't cooked after fermentation, so you're eating it with its living microbial community intact.
That's one reason I love incorporating a variety of fermented foods into my diet. Sauerkraut, kimchi, and fermented vegetables aren't identical foods containing identical microbes. Each is its own little ecosystem.
If the idea that trillions of microorganisms live in and interact with our bodies is new to you, start with What Is the Gut Microbiome? It’s one of my favorite subjects because the relationship between our food and our gut microbes is one of the things I find most interesting about nutrition.
And if you’re wondering what researchers have discovered about eating fermented foods, I dive deeper into the science in The Health Benefits of Fermented Foods.
I think of fermented salsa as one more simple way to add plant diversity and naturally fermented food to a meal.
For me, that’s a pretty nice bonus for saving tomatoes that might otherwise have ended up in the trash.
What Does Fermented Salsa Taste Like?
This is worth talking about because fermented salsa doesn't taste exactly like fresh salsa from a restaurant or a jar from the grocery store.
After a couple of days, you'll notice a pleasant tanginess developing. The sharpness of the raw onion softens. The flavors begin to meld together, and there's a subtle fermented quality that becomes more noticeable the longer it sits.
I happen to love it.
If you're serving fermented salsa to someone for the first time, though, don't necessarily expect them to say, "Oh! This tastes exactly like my favorite restaurant salsa!"
It doesn't.
That's part of what makes it interesting.
I usually begin tasting mine around the second day. When it has the tang and flavor I like, it goes into the refrigerator, where the cooler temperature dramatically slows fermentation.
The Equipment I Use
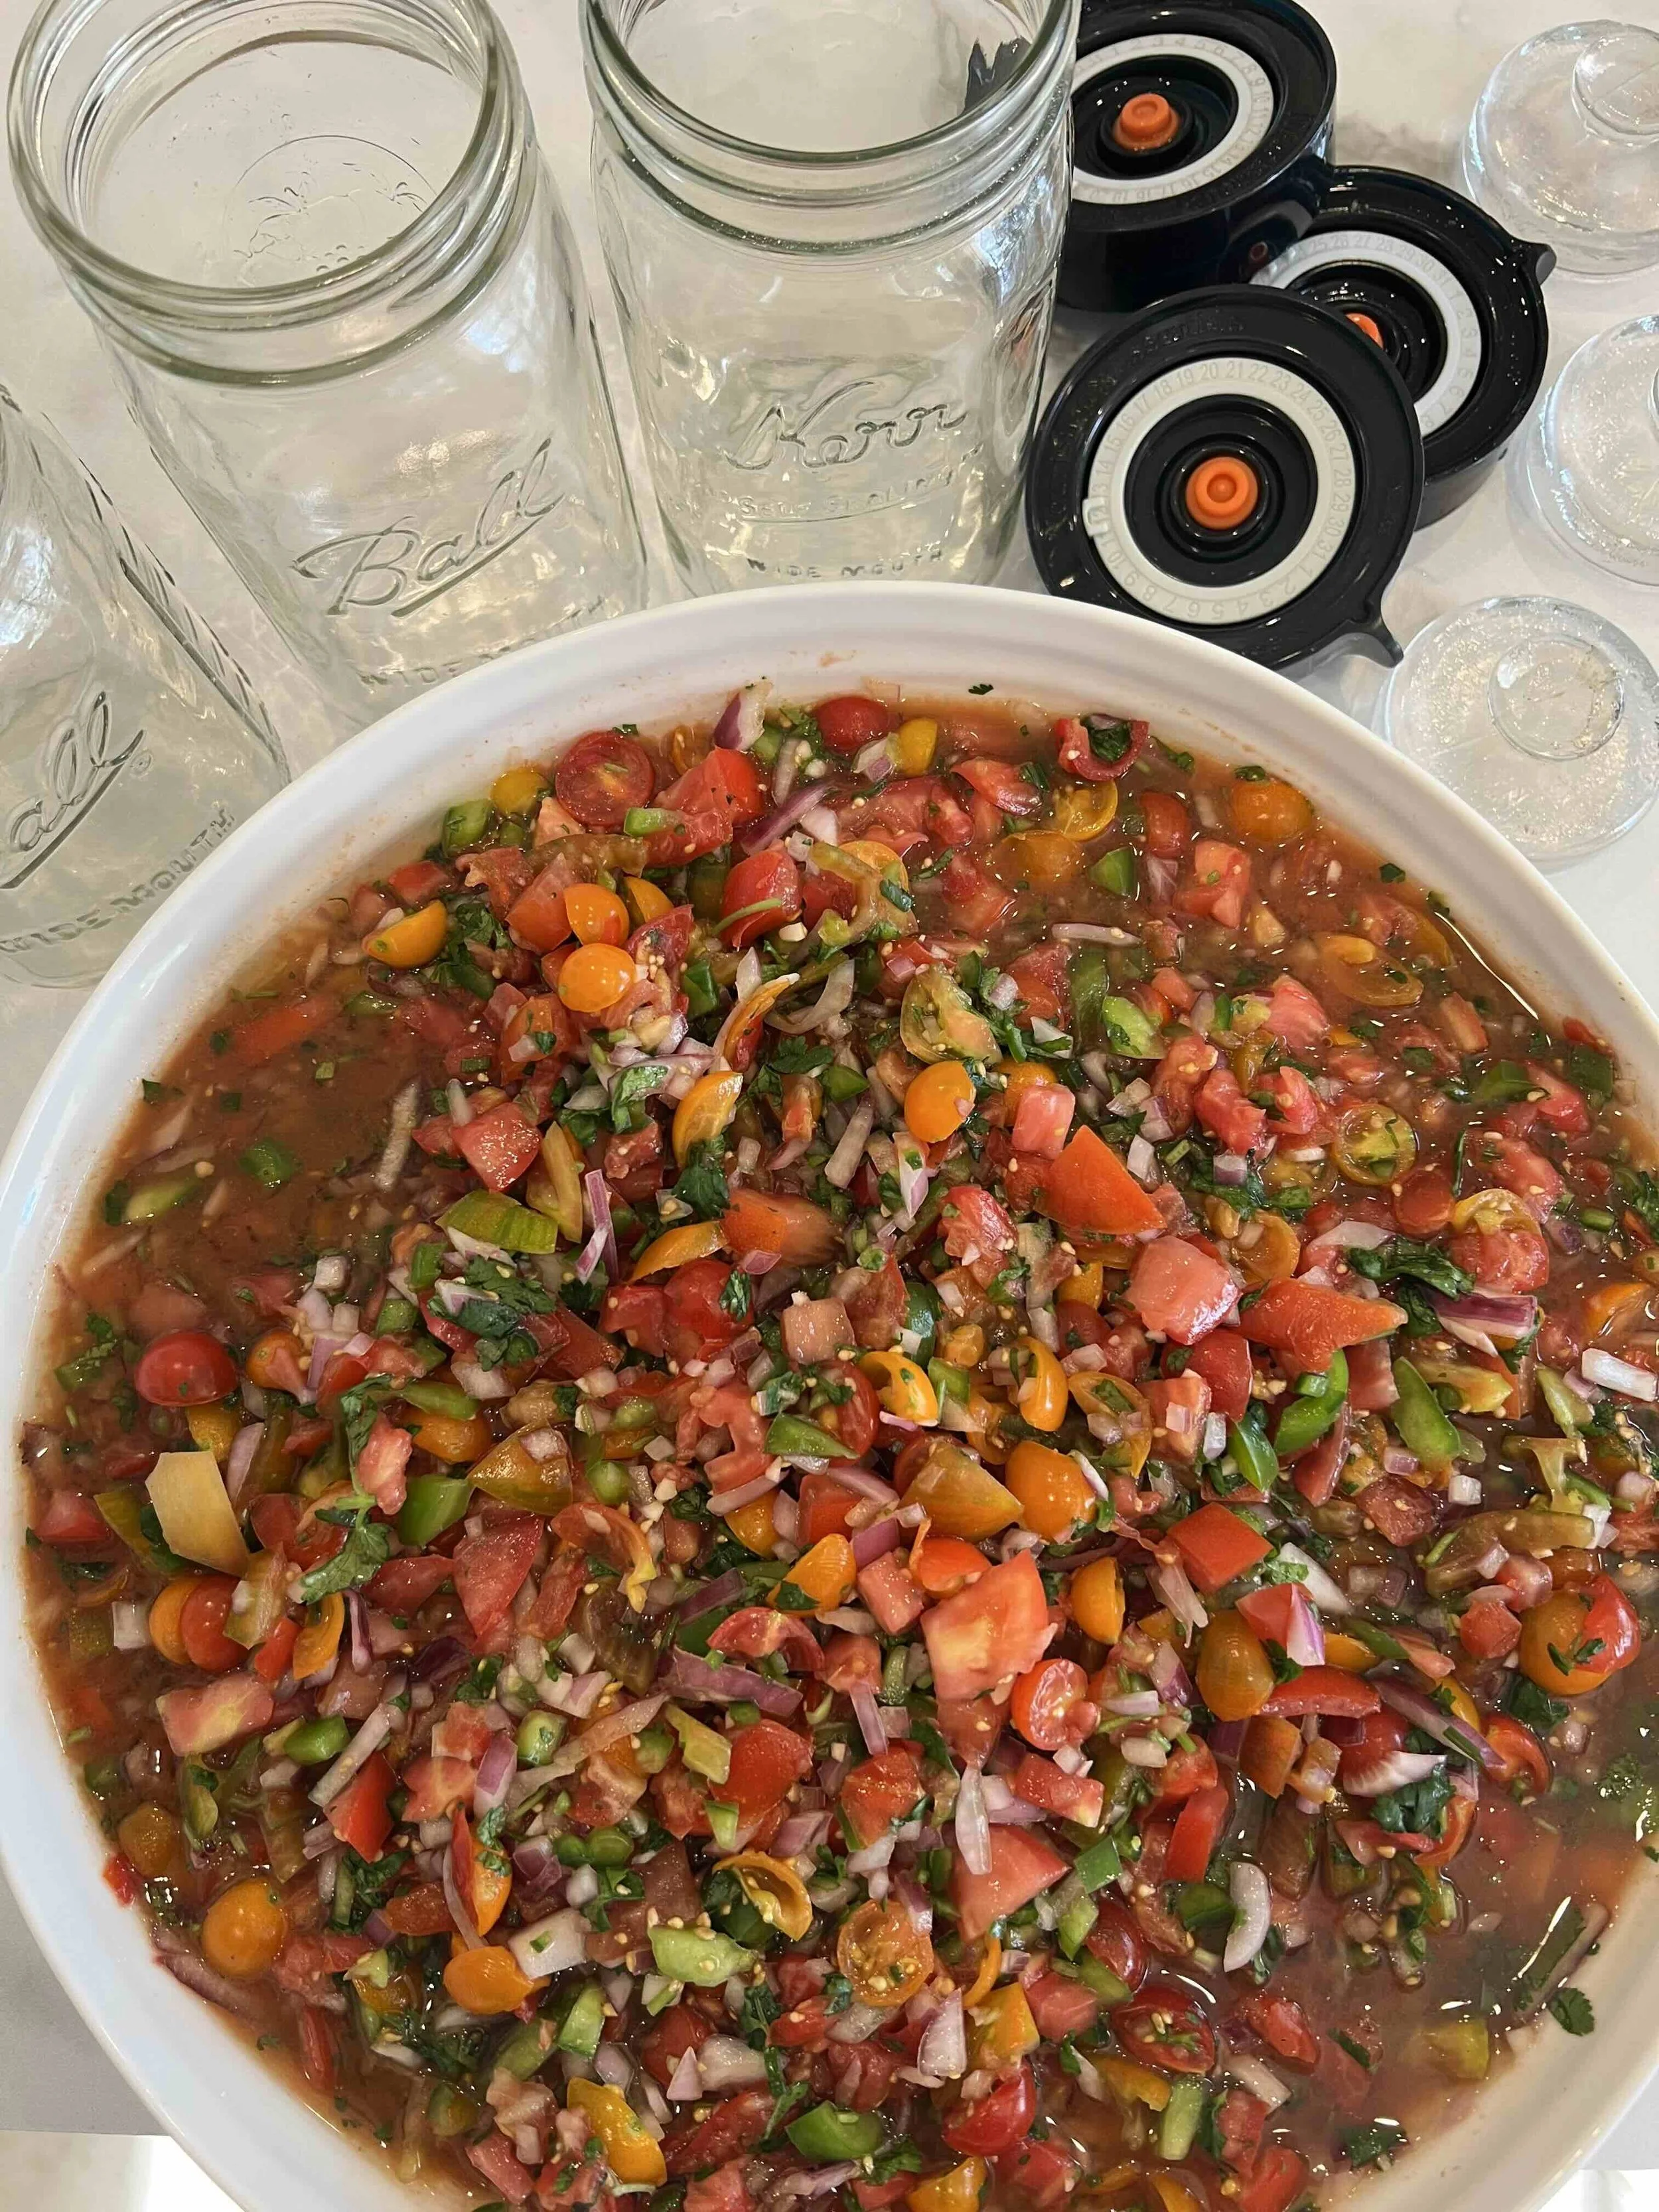
You may sometimes hear that fermenting vegetables requires nothing more than a jar and a cloth over the top.
Technically, people have fermented food with simple equipment for thousands of years.
But after experimenting with different methods myself, I've found a setup that is inexpensive, simple and has given me consistently successful results—and that's what I recommend.
I use:
Wide-mouth quart or half-gallon Mason jars
A kitchen scale
The fermentation weight keeps the vegetables beneath the liquid, while the airlock lets gases produced during fermentation escape while limiting the oxygen entering the jar.
That small investment has been well worth it for me.
If you end up loving this process and want to ferment carrots, green beans, cauliflower, radishes, and more, I've put my whole method together in How to Ferment Vegetables at Home.
Garden Harvest Fermented Salsa
Ingredients
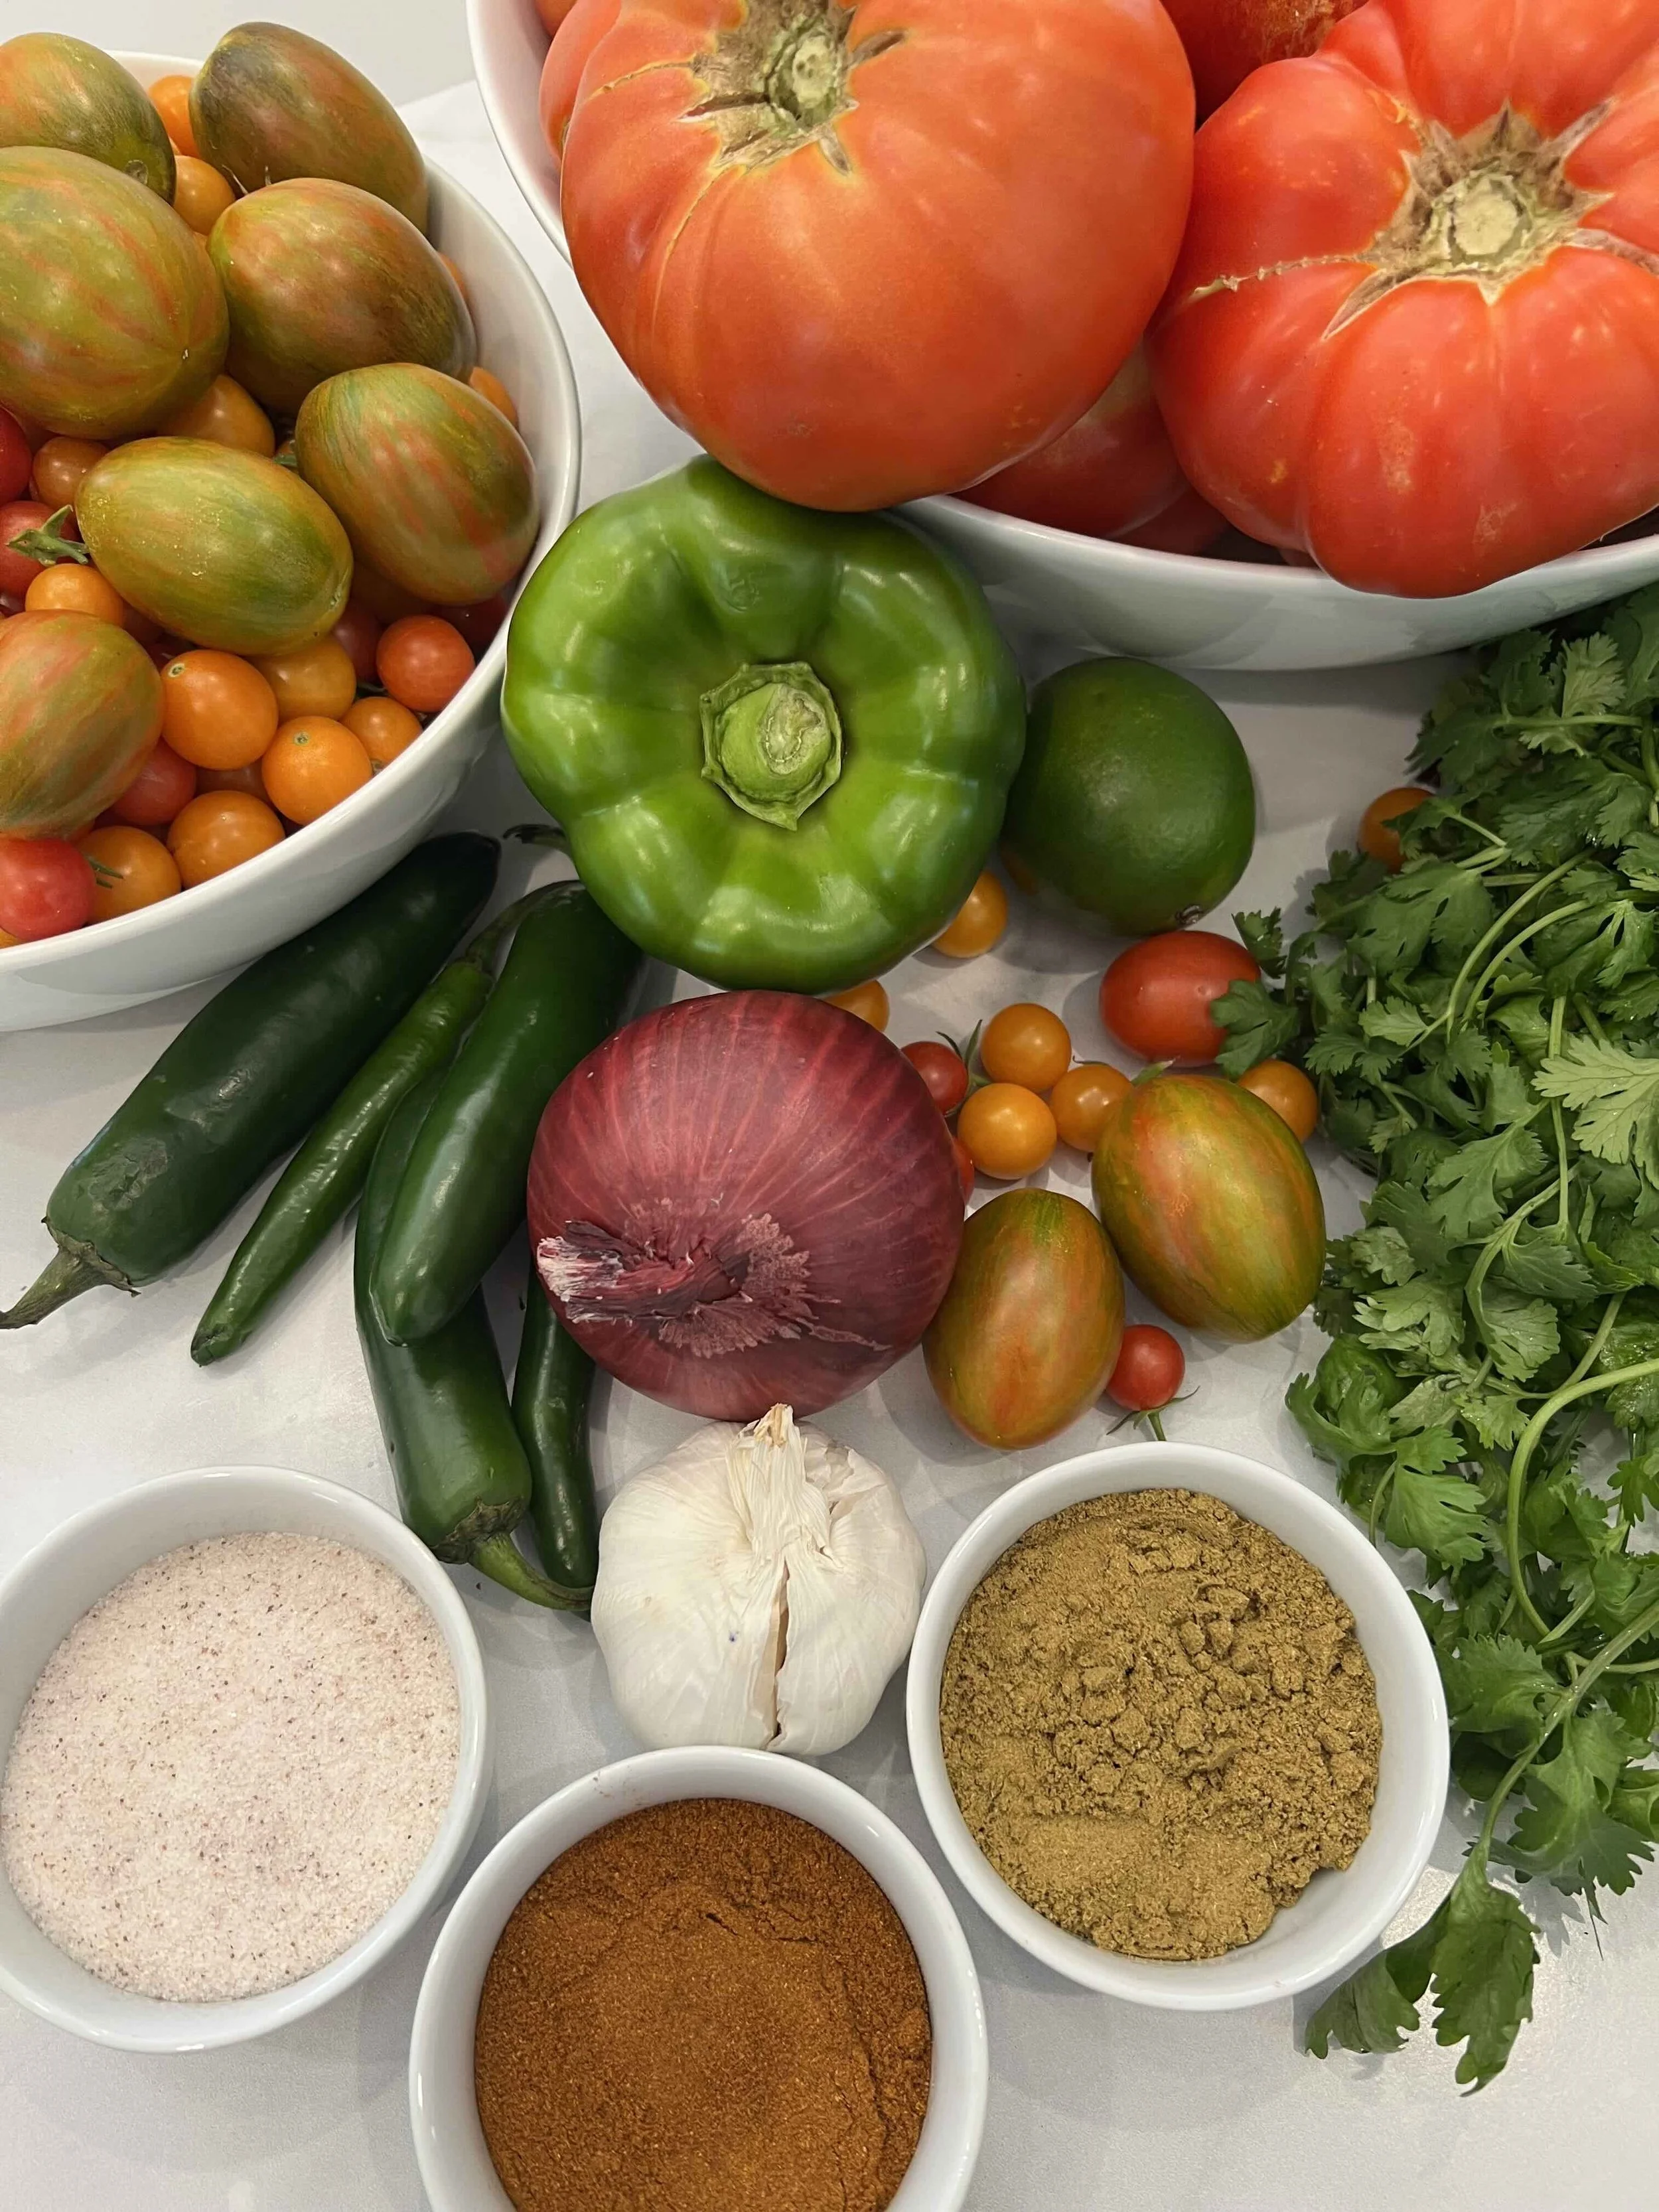
9 cups chopped ripe tomatoes
1 medium red onion, finely diced
1 medium green bell pepper, finely diced
2 jalapeño peppers, finely diced
3–5 cloves garlic, minced
1 cup fresh cilantro, chopped
Juice of 1 lime, optional
2 teaspoons ground cumin
1 teaspoon smoked paprika, optional
Fine sea salt equal to 2% of the weight of your prepared vegetables
Want It Spicier?
Add 1 finely diced serrano pepper.
You can also leave more of the membranes and seeds in your jalapeños for additional heat.
Peppers vary considerably in heat—even peppers from the same plant—so consider the recipe a starting point and make it your own.
First, Weigh Your Vegetables
This is one place where I've changed how I make this recipe.
It would be convenient for me to simply tell you to add a certain number of teaspoons of salt. But tomatoes vary tremendously. Eight cups of tiny cherry tomatoes won't necessarily weigh the same as eight cups of chopped slicing tomatoes, and your onion and peppers won't be exactly the same size as mine.
For fermentation, weight gives us a much more reliable measurement than volume.
And the math is easier than it sounds.
Place your empty mixing bowl on a kitchen scale and press tare so the scale reads zero.
Prepare your tomatoes, onion, peppers, garlic and cilantro and place everything in the bowl.
Note the weight in grams.
Now multiply that number by:
0.02
That's how many grams of salt you'll add.
Here's a real example from my kitchen:
When I made the original quantity of this recipe, my prepared vegetables weighed approximately:
1,700 grams
So:
1,700 × .02 = 34
I would use:
34 grams of fine sea salt
When I doubled the recipe, my vegetables weighed 3,388 grams, so the calculation came to approximately 68 grams of salt.
An Easy Way to Remember It
Think:
20 grams of salt for every 1,000 grams of vegetables.
That's 2%.
And there's another reason I recommend weighing the salt itself rather than converting it to tablespoons: different salts can have very different crystal sizes. A tablespoon of one salt may not weigh the same as a tablespoon of another.
A little kitchen scale removes the guesswork.
How to Make Fermented Salsa
1. Chop your vegetables
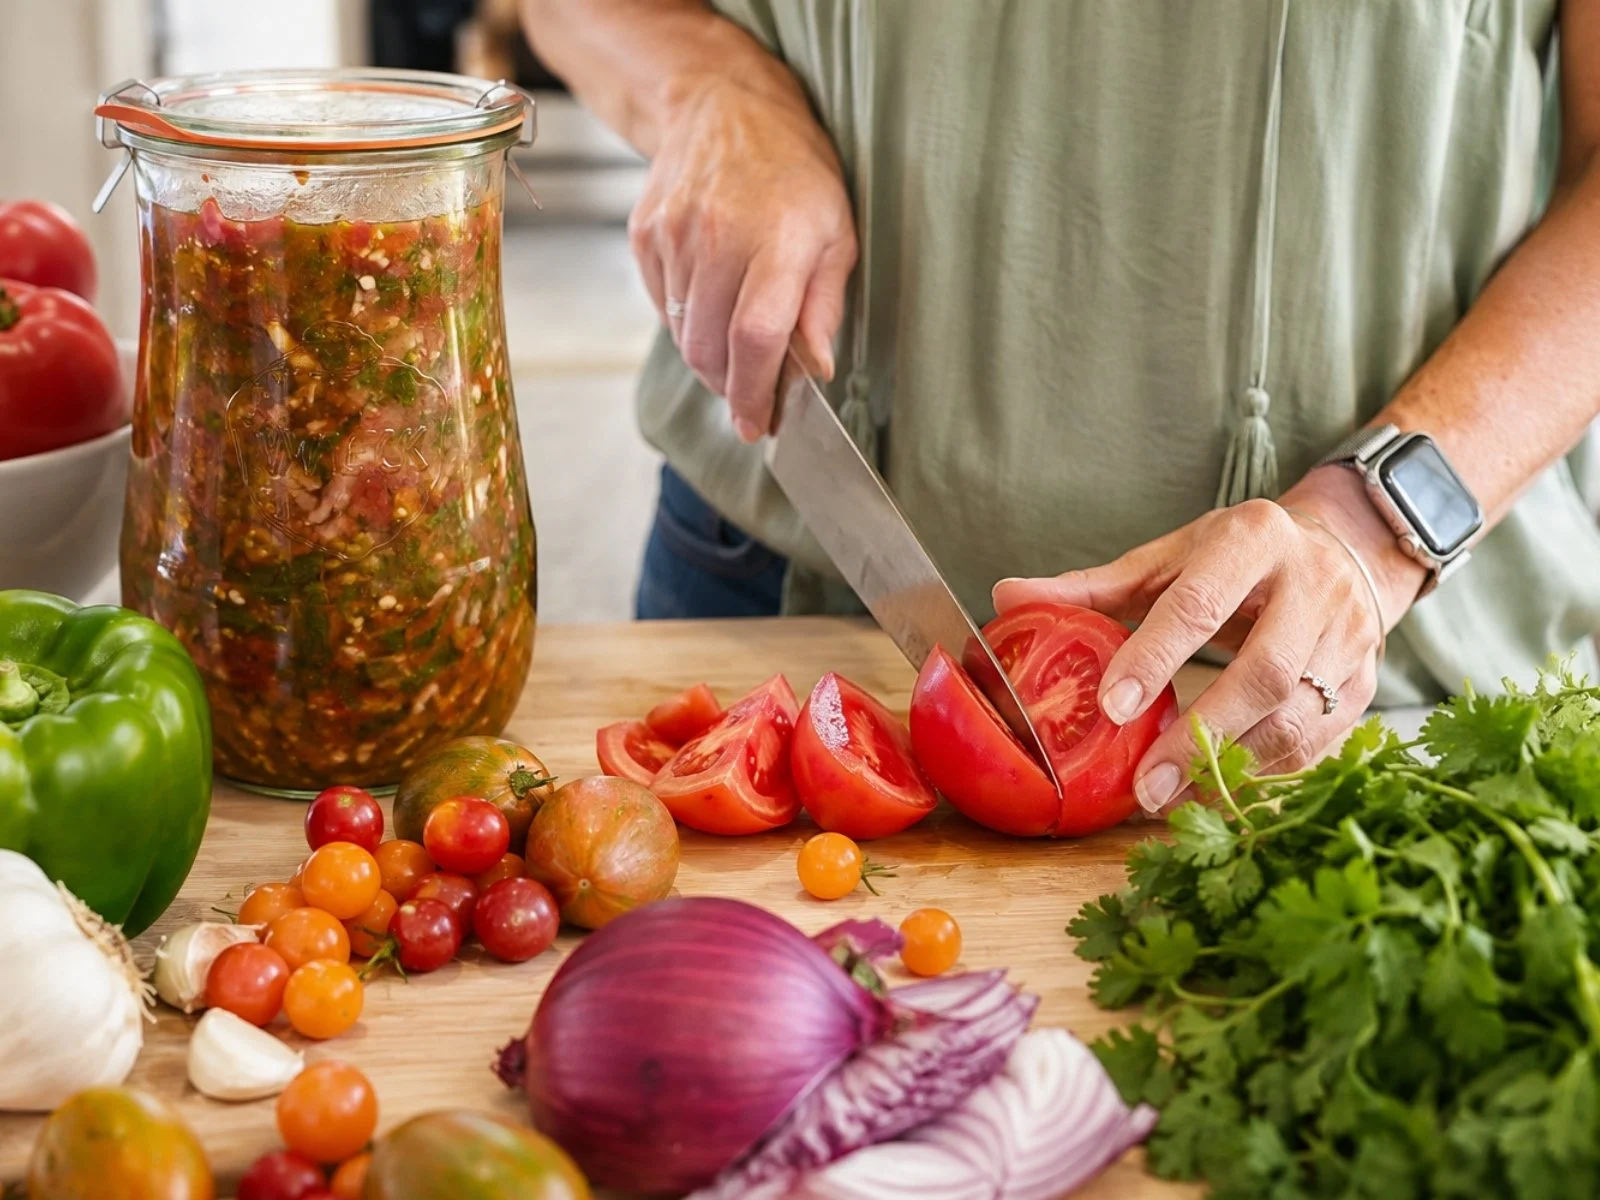
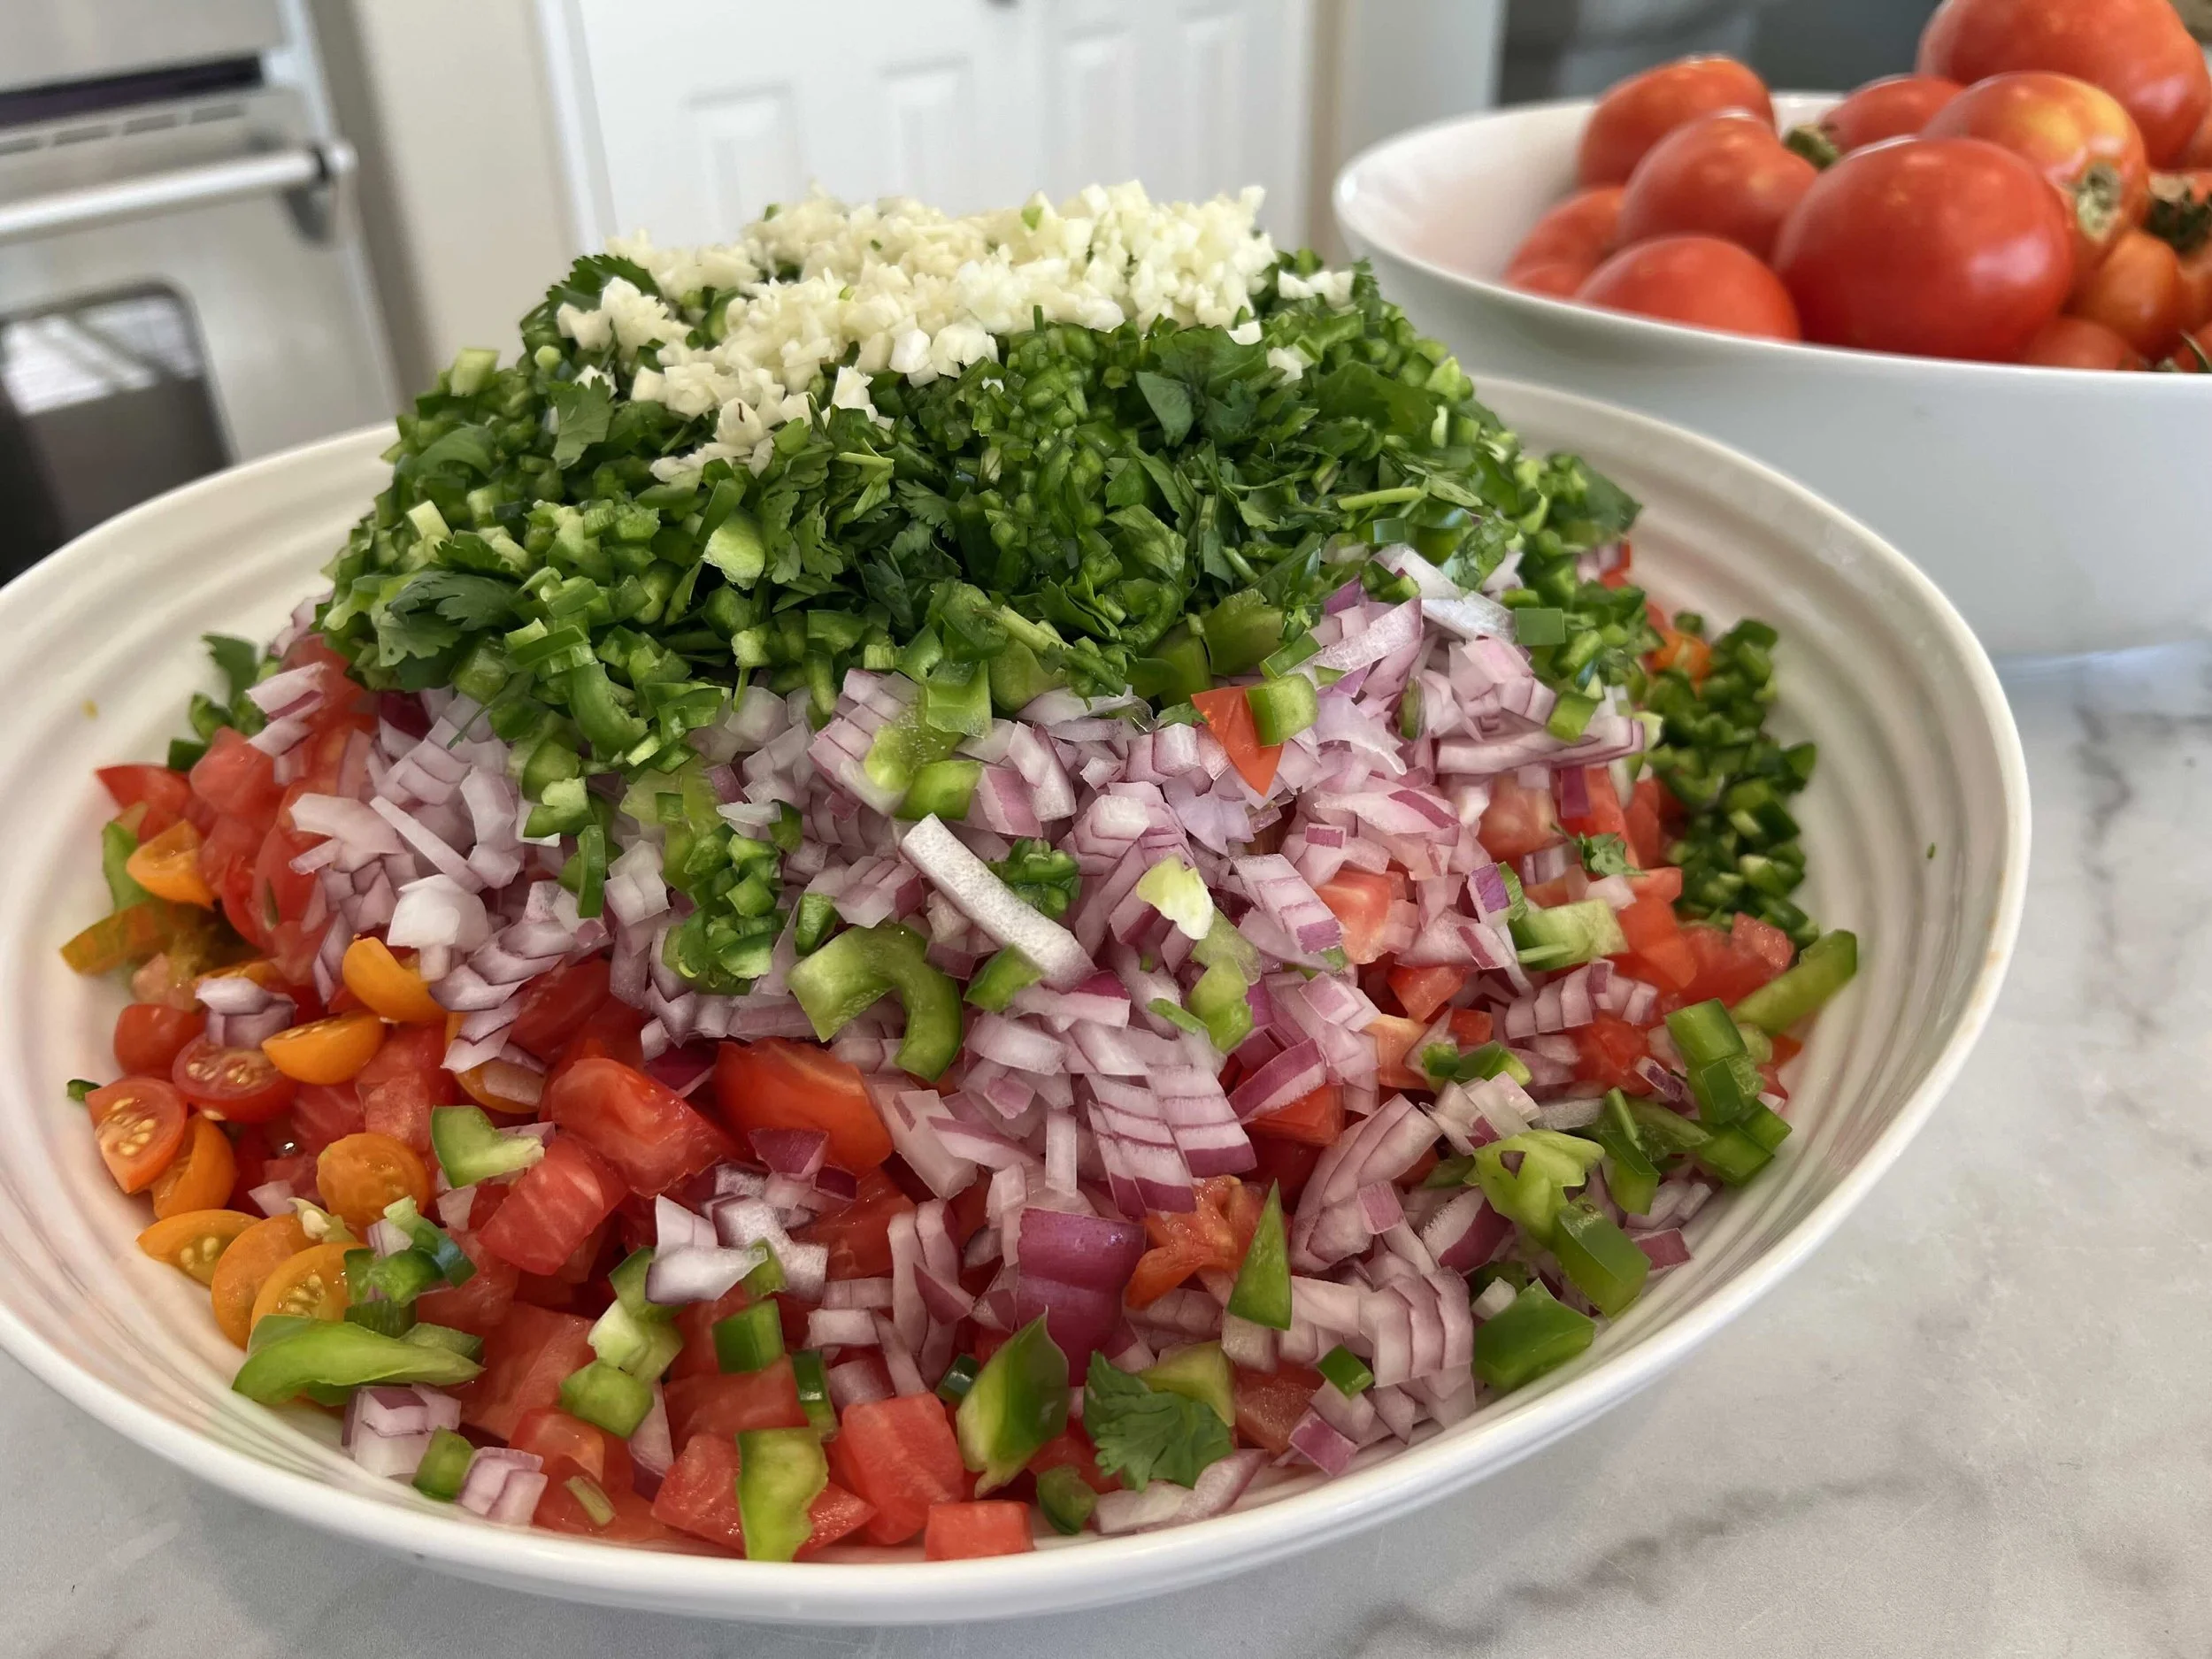
Chop your tomatoes into small salsa-size pieces.
Finely dice the red onion, bell pepper, and jalapeños. Mince the garlic and chop the cilantro.
I like plenty of texture in mine, so I don't puree it. I like seeing all the different tomato pieces in the finished salsa, especially when I’m using several varieties from the garden.
2. Weigh everything
Tare your empty bowl, add your prepared vegetables and herbs, and record the weight in grams.
Calculate 2% of that number to determine your salt amount.
3. Add your seasonings
Add the measured salt, cumin and smoked paprika, if using.
Add the lime juice if you'd like it.
Mix everything really well.
The salt immediately begins drawing water from the tomatoes and other vegetables. Let the mixture sit for about 15–30 minutes, stirring once or twice.
You'll probably be surprised by how much liquid appears.
That's your brine.
4. Pack the jars
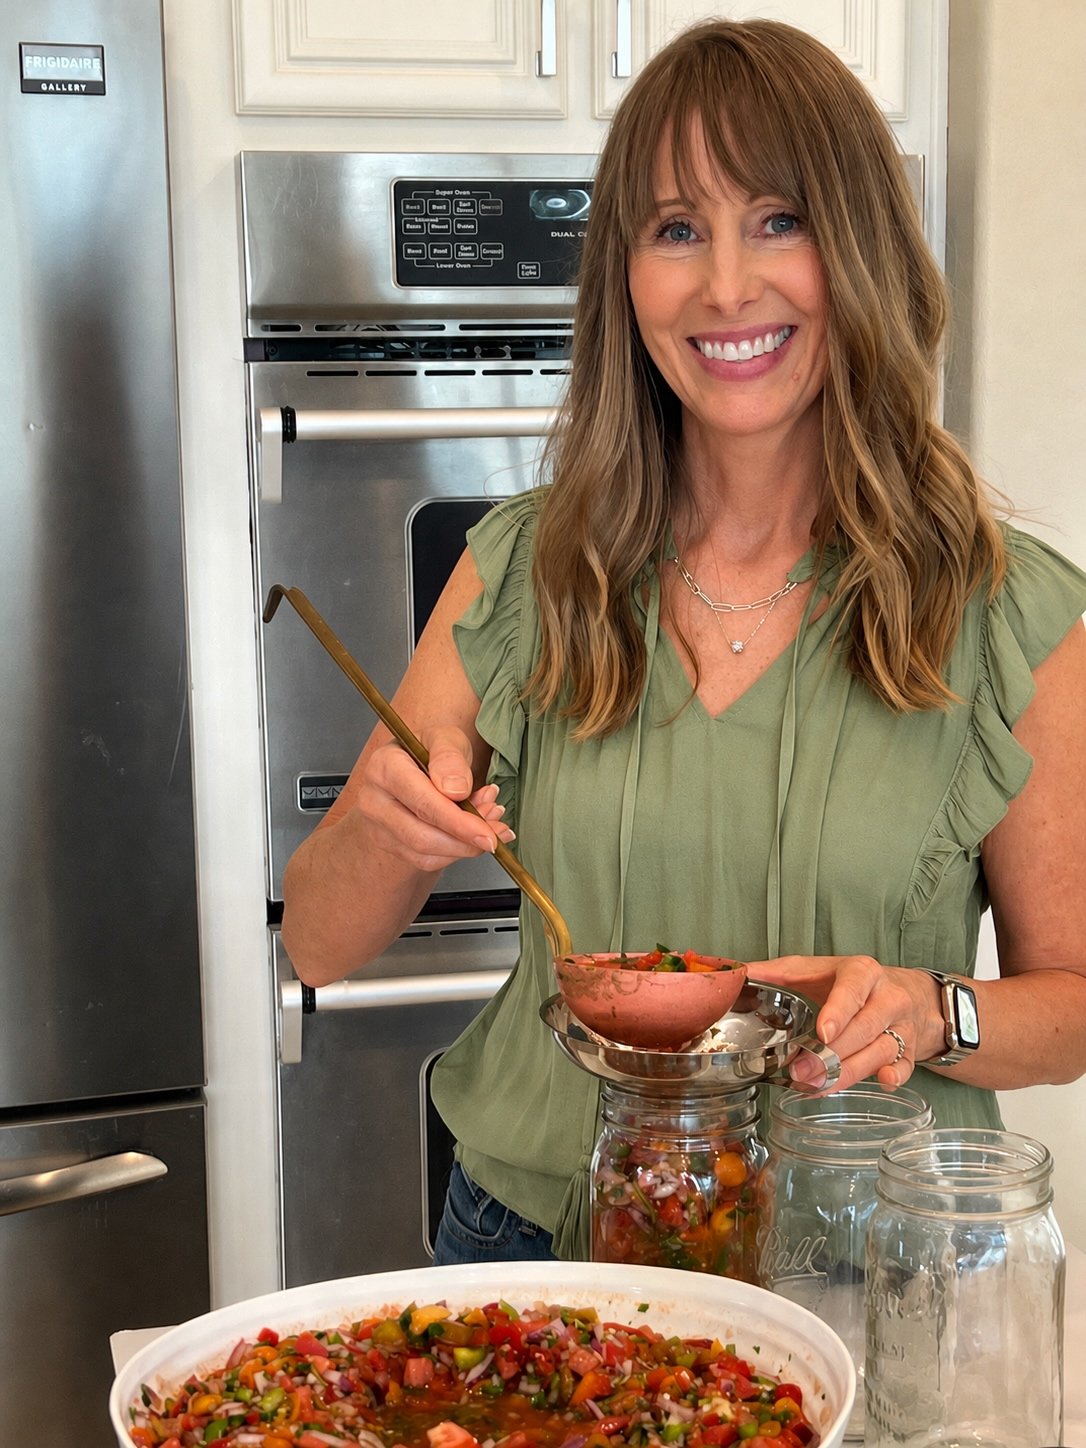
Spoon the salsa into clean wide-mouth Mason jars.
A wide-mouth funnel makes this considerably less messy—I speak from experience.
Press the vegetables gently down as you fill the jar so the liquid rises around them.
Don't fill the jars completely to the top. Fermentation produces gases, and the contents can rise and bubble as fermentation becomes active. Leave some headspace so everything has room to move.
5. Add the fermentation weight
Place a clean glass fermentation weight over the salsa and gently press it down until the vegetables are submerged beneath the liquid.
This matters.
The goal is to keep the vegetable pieces beneath the brine rather than floating at the surface where they're exposed to oxygen.
Tiny cilantro pieces have a talent for escaping just about anywhere, so I remove any obvious bits floating above the brine.
6. Add the fermentation lid
Attach your airlock fermentation lid according to its manufacturer's instructions.
I like to place my jars on a plate or shallow tray while they ferment, because an active ferment can sometimes bubble up through the lid.
7. Let it ferment
Place the jars out of direct sunlight at a comfortable room temperature. Around 68–72°F is a nice range for vegetable fermentation.
You'll gradually start to see signs that something is happening.
There may be little bubbles.
The liquid may become cloudier.
You may see tiny pockets of gas moving upward through the salsa.
All of those can be normal signs of active fermentation.
I start tasting my salsa at around 48 hours.
Depending on your room temperature and how tangy you like it, yours may be ready somewhere around 2–3 days.
Once you love the flavor, move it to the refrigerator.
How Do I Know When It's Ready?
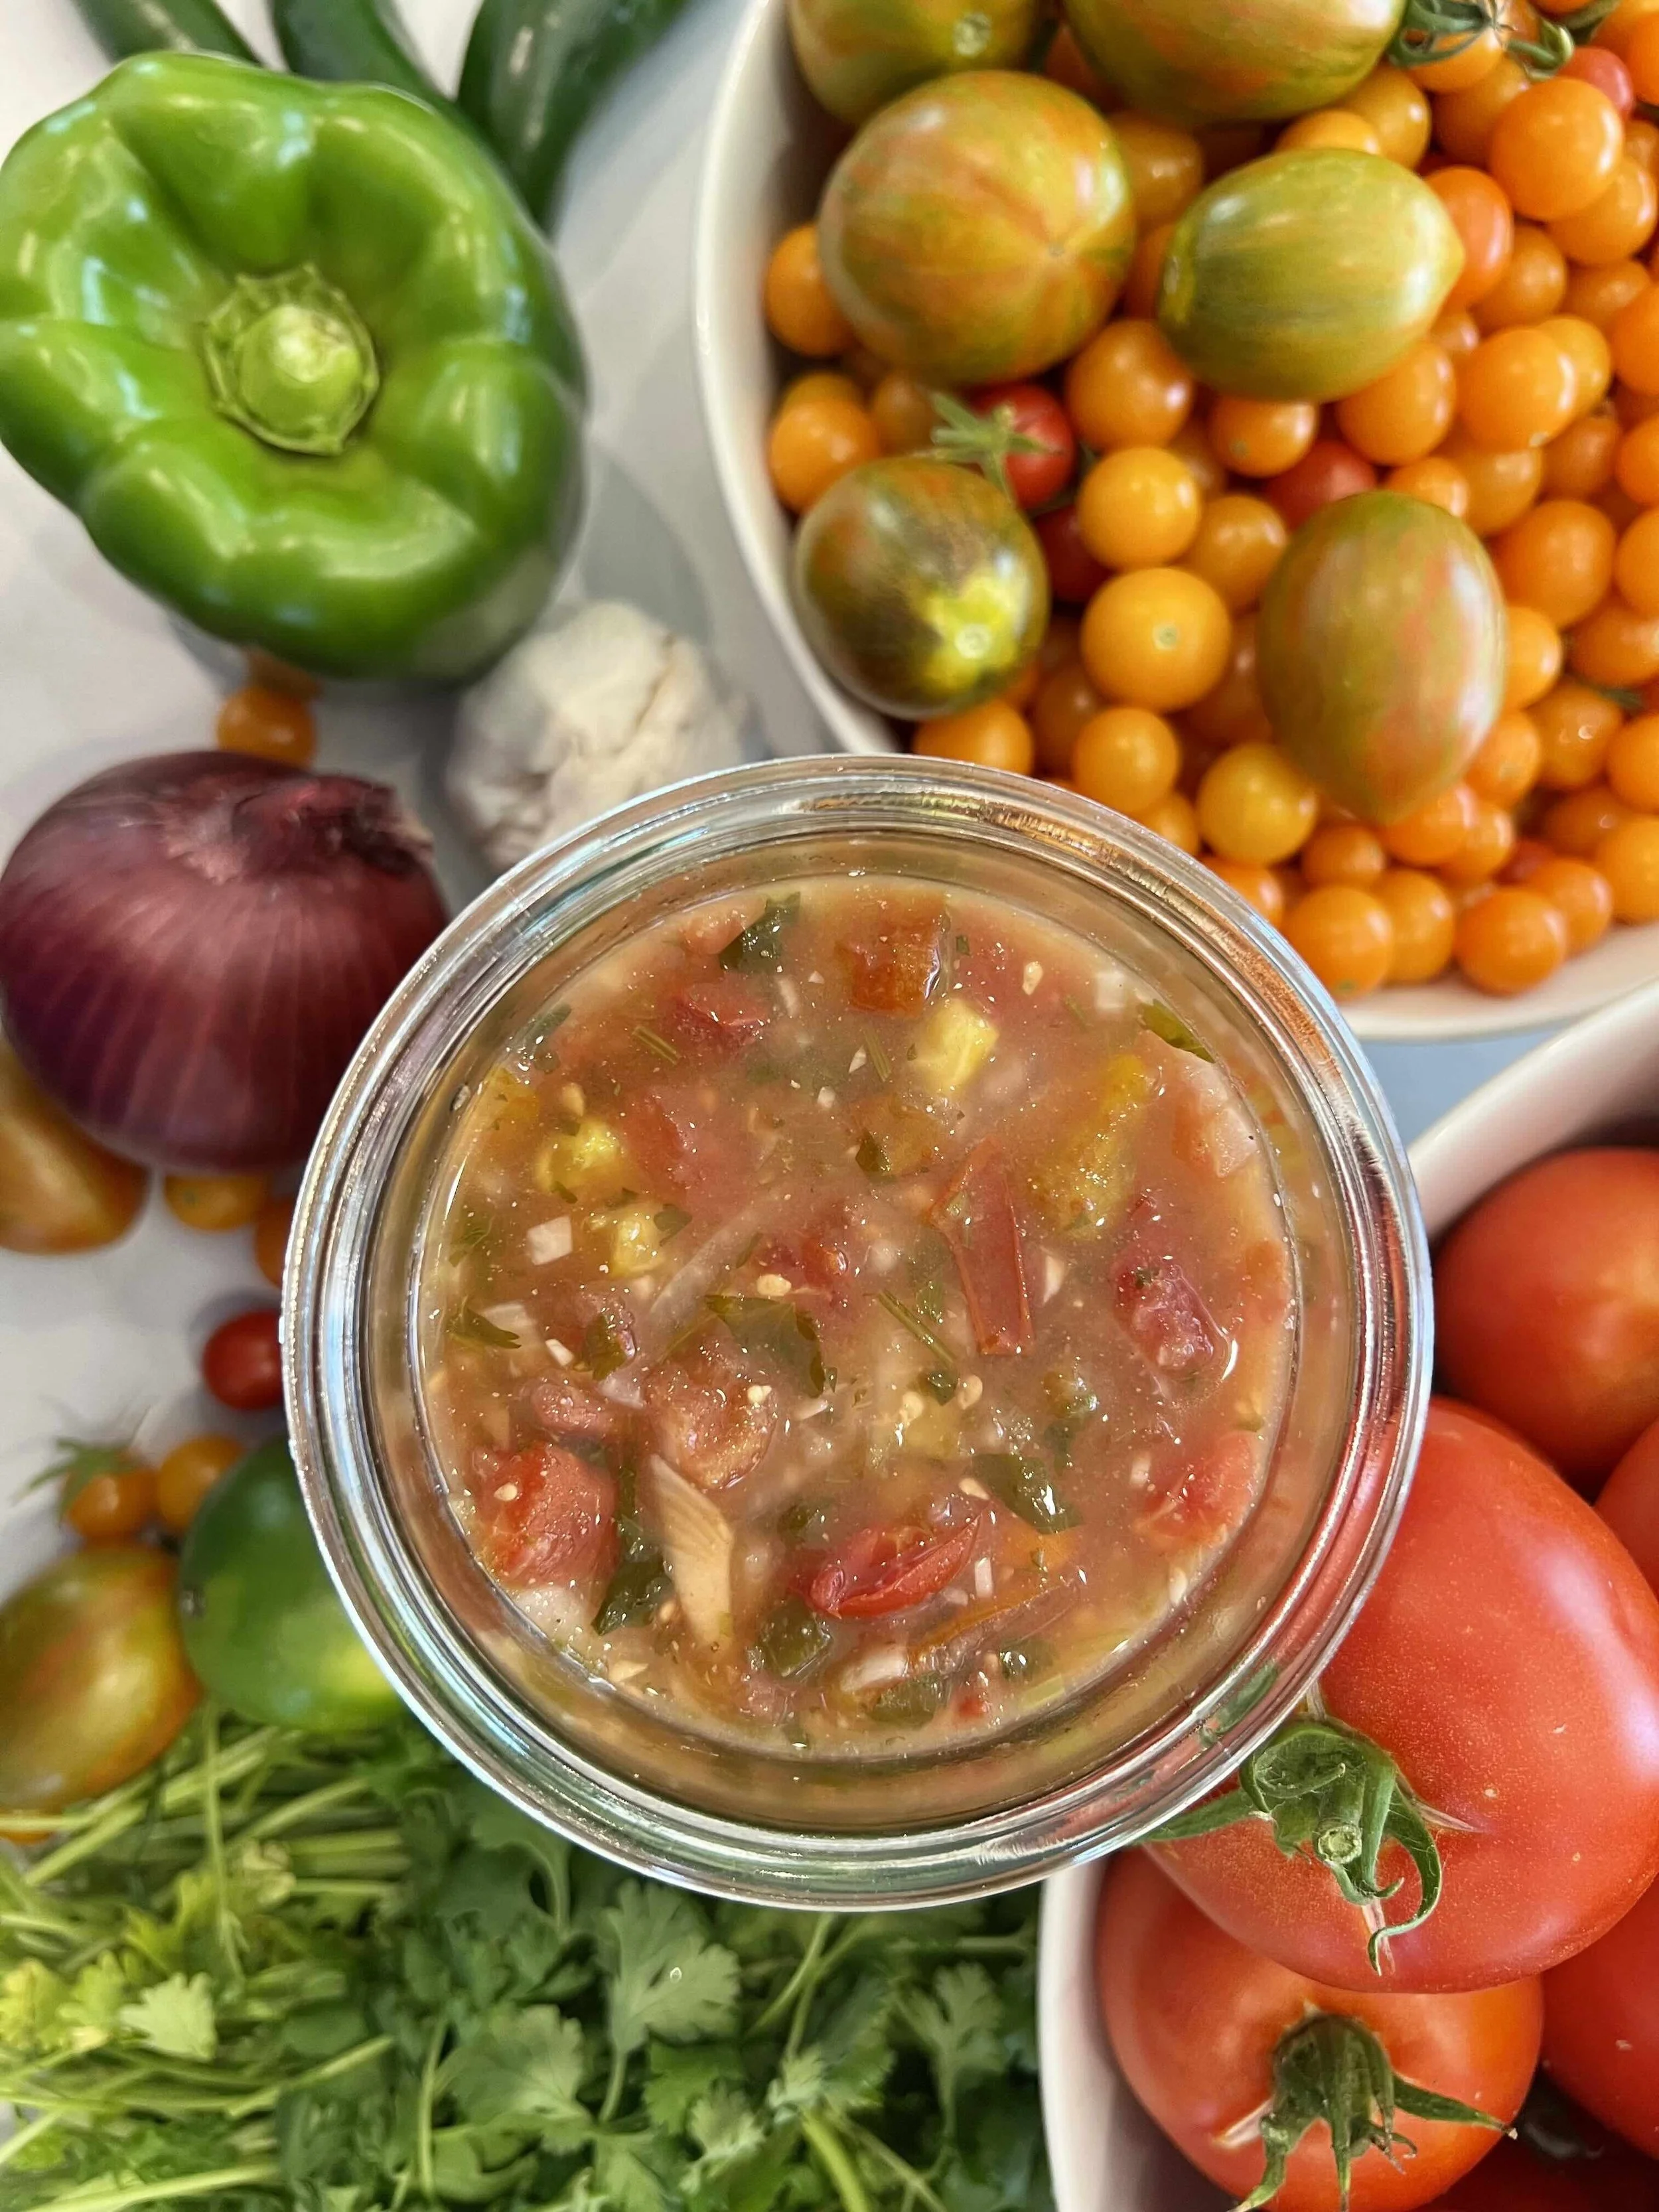
As lactic-acid bacteria become active, the salsa becomes increasingly acidic and develops its characteristic tang.
For home fermenters who want an objective measurement—especially anyone nervous about relying on taste alone—a food-grade pH meter or appropriate pH test strips can provide additional reassurance. A properly acidified fermented vegetable product should reach a pH of 4.6 or below; many successful vegetable ferments ultimately become considerably more acidic than that.
If you're teaching someone fermentation for the first time, I think it's worth knowing that number.
A Few Fermentation Safety Basics
Fermentation has been used to preserve food for generations, but it isn't a reason to abandon basic food-safety practices.
Start with clean hands, clean equipment and fresh produce. Use the appropriate amount of salt. Keep the vegetables beneath the brine. Use equipment designed to limit oxygen exposure, and pay attention to your ferment.
Bubbling, cloudiness, and a pleasantly sour smell can all be normal.
Fuzzy mold, pink or unusual discoloration, a rotten or putrid odor, or a slimy product that seems clearly spoiled are reasons to discard the batch rather than taste it.
And remember: fermented salsa is not shelf-stable canned salsa. Once it has reached the flavor and acidity you're looking for, store it in the refrigerator.
When in doubt with fermented food, throw it out.
What If My Salsa Doesn't Make Enough Liquid?
Tomatoes usually release a large amount of juice when they're chopped and salted, so salsa tends to create plenty of its own brine.
Give it 15–30 minutes before deciding it needs help.
Once it's packed into the jar and gently pressed down, you may discover there's more than enough liquid to cover everything.
How Long Does Fermented Salsa Keep?
Fermented salsa isn't quite like sauerkraut.
Sauerkraut is typically fermented longer and becomes quite acidic, and its dense cabbage structure also holds up beautifully over time. Salsa contains delicate, juicy tomatoes and is usually fermented for only a few days to preserve that wonderful salsa-like texture.
Once mine tastes right, I refrigerate it and treat it as a fresh refrigerated fermented food rather than a long-term preserve.
For best quality, I like to enjoy it within several weeks.
And this is one reason I often prefer storing it in pint jars after fermentation. Once we're eating from a jar, we can finish that smaller amount while the rest remains untouched in the refrigerator.
Ways to Eat Fermented Salsa
Honestly, almost anywhere you'd use regular salsa.
Spoon it over a burrito bowl, black beans, lentils, tacos, baked potatoes, or roasted vegetables.
Pile it onto avocado toast.
Add it to a grain bowl.
Or do what I love and scoop it up with homemade flax crackers.
Once you get comfortable making salsa this way, it’s pretty easy to start wondering what else you could ferment.
If you're ready for another delicious project, try my Easy Raw Vegan Kimchi. It's another completely different way to experience what fermentation can do to humble vegetables.
Does Fermented Salsa Contain Beneficial Bacteria?
Yes—properly fermented, unheated salsa can contain living microorganisms produced and enriched during lactic-acid fermentation.
But I wouldn't put a number on how many beneficial bacteria are in a homemade jar.
The microbial population varies with the vegetables, temperature, salt concentration, fermentation time, and other conditions. And different species can dominate at different stages of fermentation.
That's actually part of what I find so fascinating about it.
We're not manufacturing a standardized probiotic capsule.
We're creating conditions in which an entire microscopic community can change a bowl of vegetables.
A lot is happening in that jar that we can’t see.
Pause & Wonder
Every time I make this salsa, I’m still a little amazed by how simple the process is. A bowl of tomatoes that was ripening faster than we could eat it becomes something completely different with nothing more than vegetables, salt, and a few days on the counter.
That’s one of the things I love most about fermenting. It takes food that might otherwise be wasted and gives it a whole new life.
And maybe that's my favorite part of this recipe.